Download the Plugin
You can download the latest plugin version from here
Upload plugin
Once you have downloaded the plugin you need to unzip the archive and put the plugin at the following location:
Get your OrderProtection credentials
Go to your OrderProtection DashboardYou will then need to go to 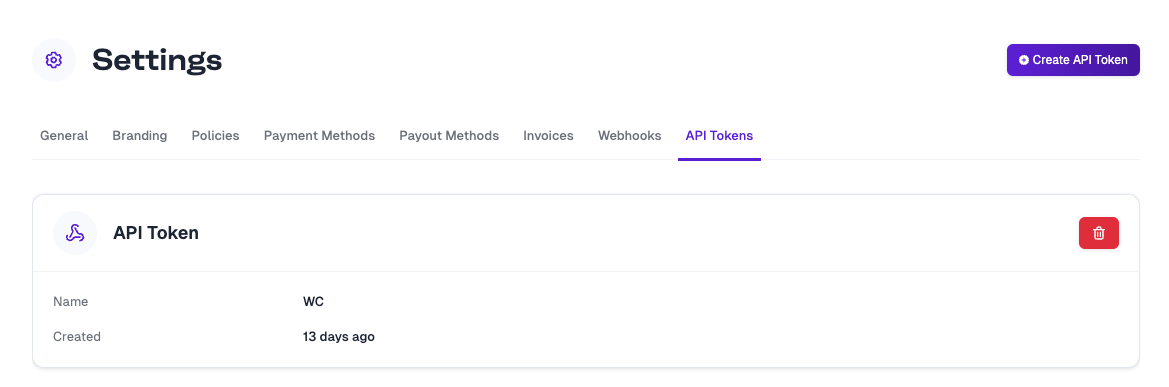
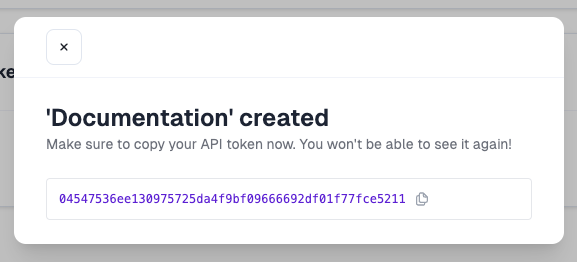
Settings -> API Keys and generate a new API key.Activate the plugin
In your Wordpress admin you can go to your plugins page. You should see the OrderProtection plugin if step 2 was
completed successfully. At this point you can click on 
Activate to activate the OrderProtection plugin.Add Webhook
Go back to your settings tab in your OrderProtection dashboard and click on the 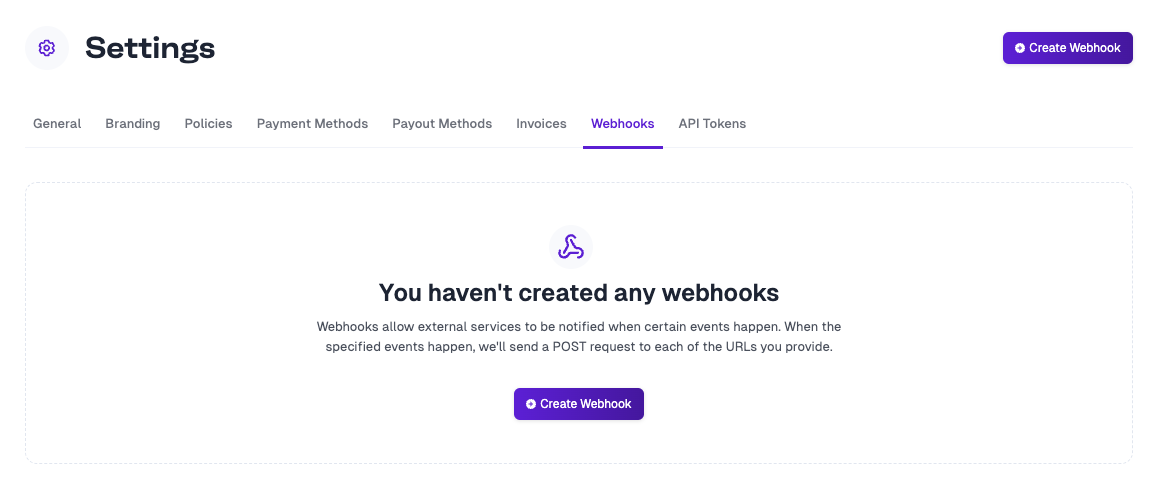
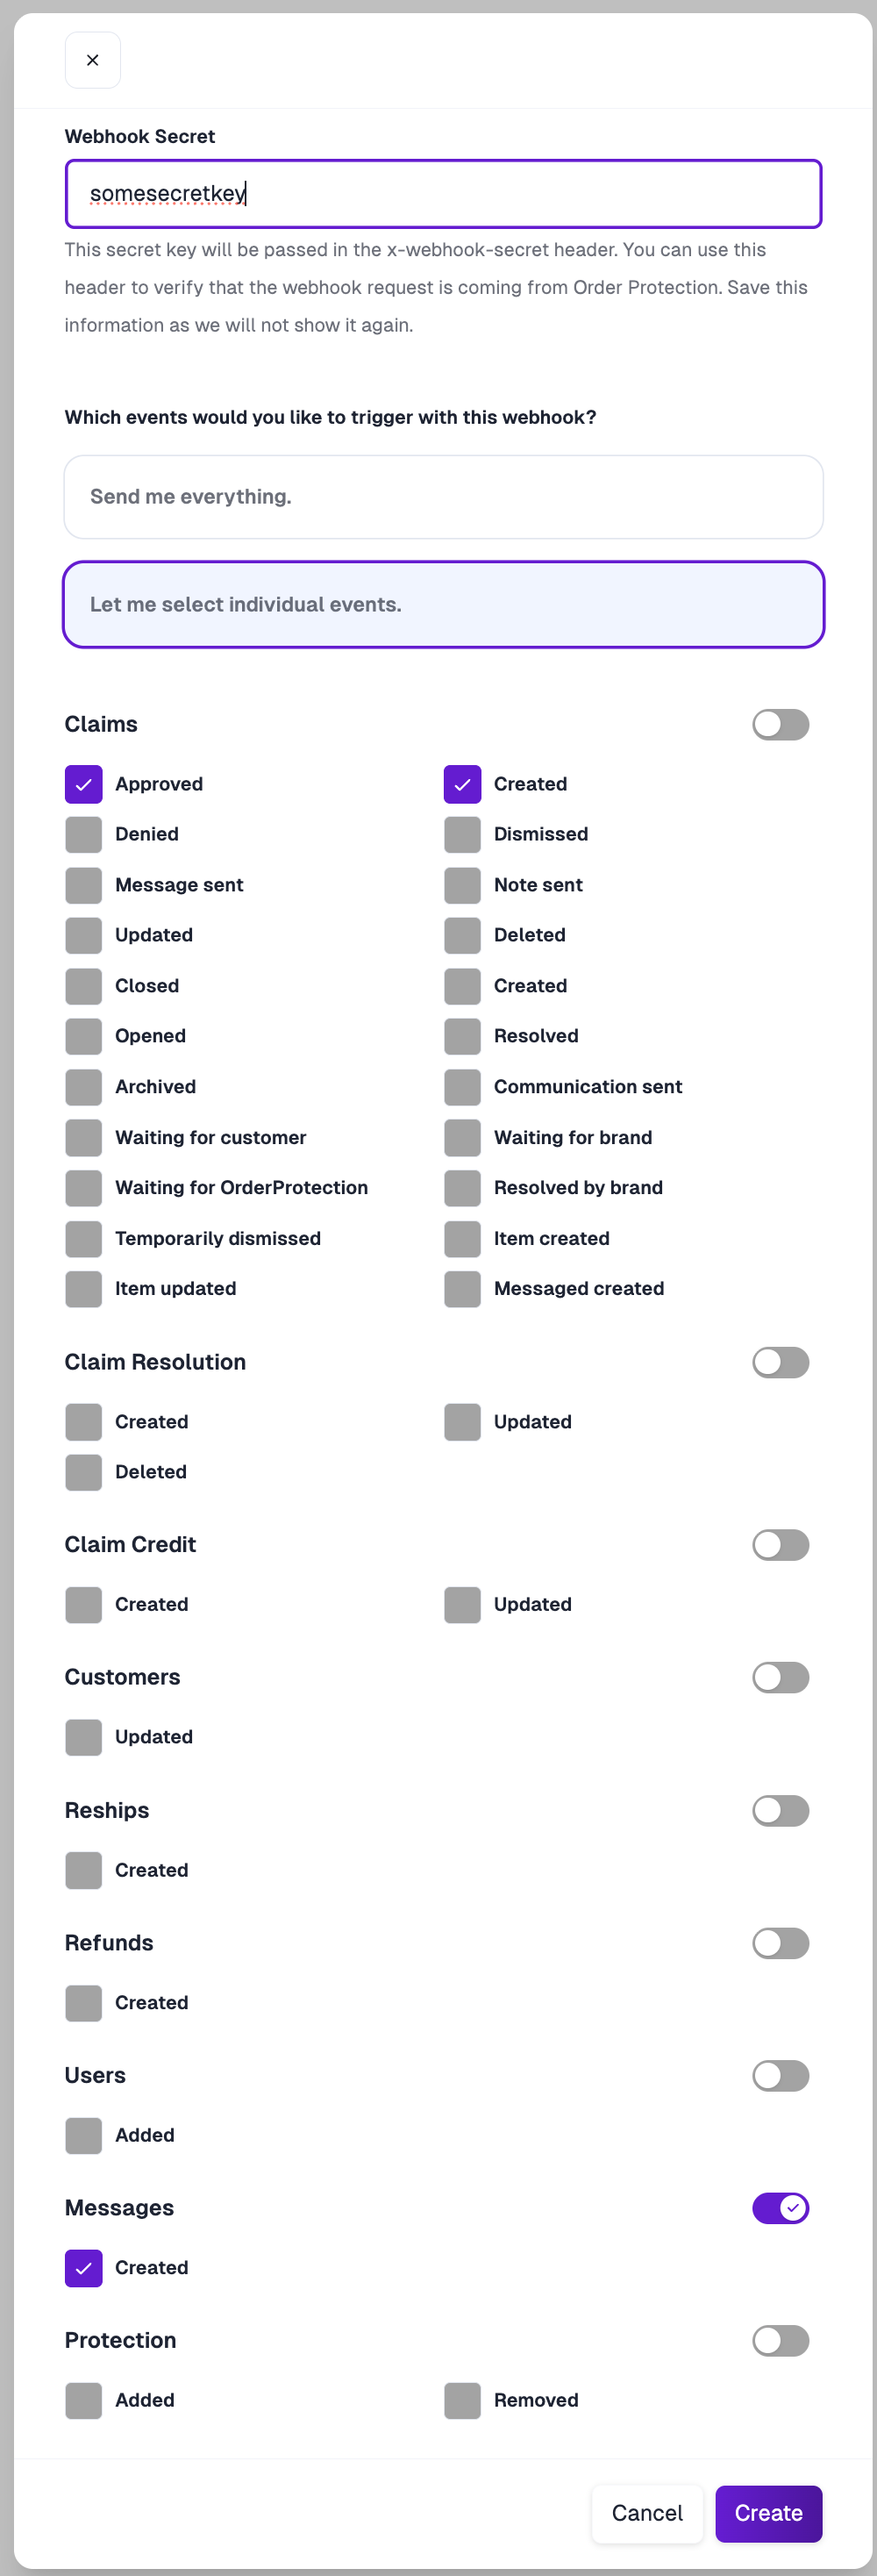
Webhooks tab.Create Webhook button and add the following details:Payload URL:This is the URL for your store, but you will need to append 1 of the following. If your REST endpoints are available through your Wordpress configuration
you can doLet me select individual eventsChoose the following:Claims -> Approved
CreateIt should look something like this:Add OrderProtection credentials
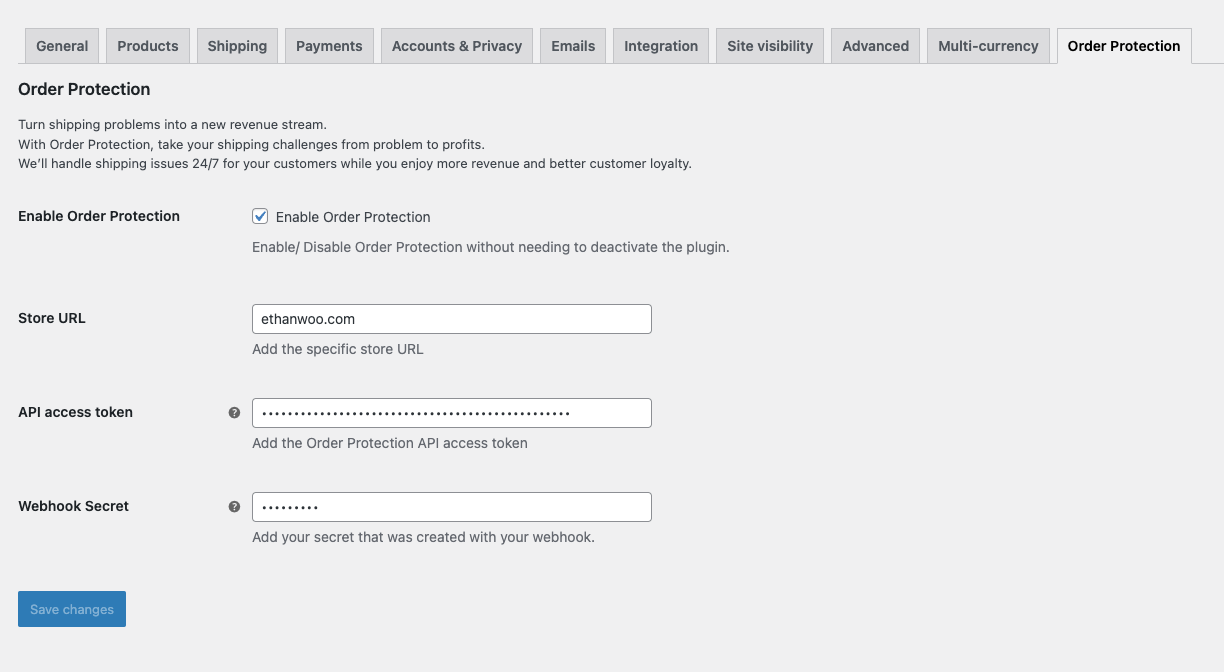
In your WooCommerce settings you will now see an OrderProtection tab. In this tab you’ll need to enter your store URL. This should match
what was given to you from the OrderProtection team.You will also add in API Key that you generated in the previous steps.