Creating a New Info Modal
1
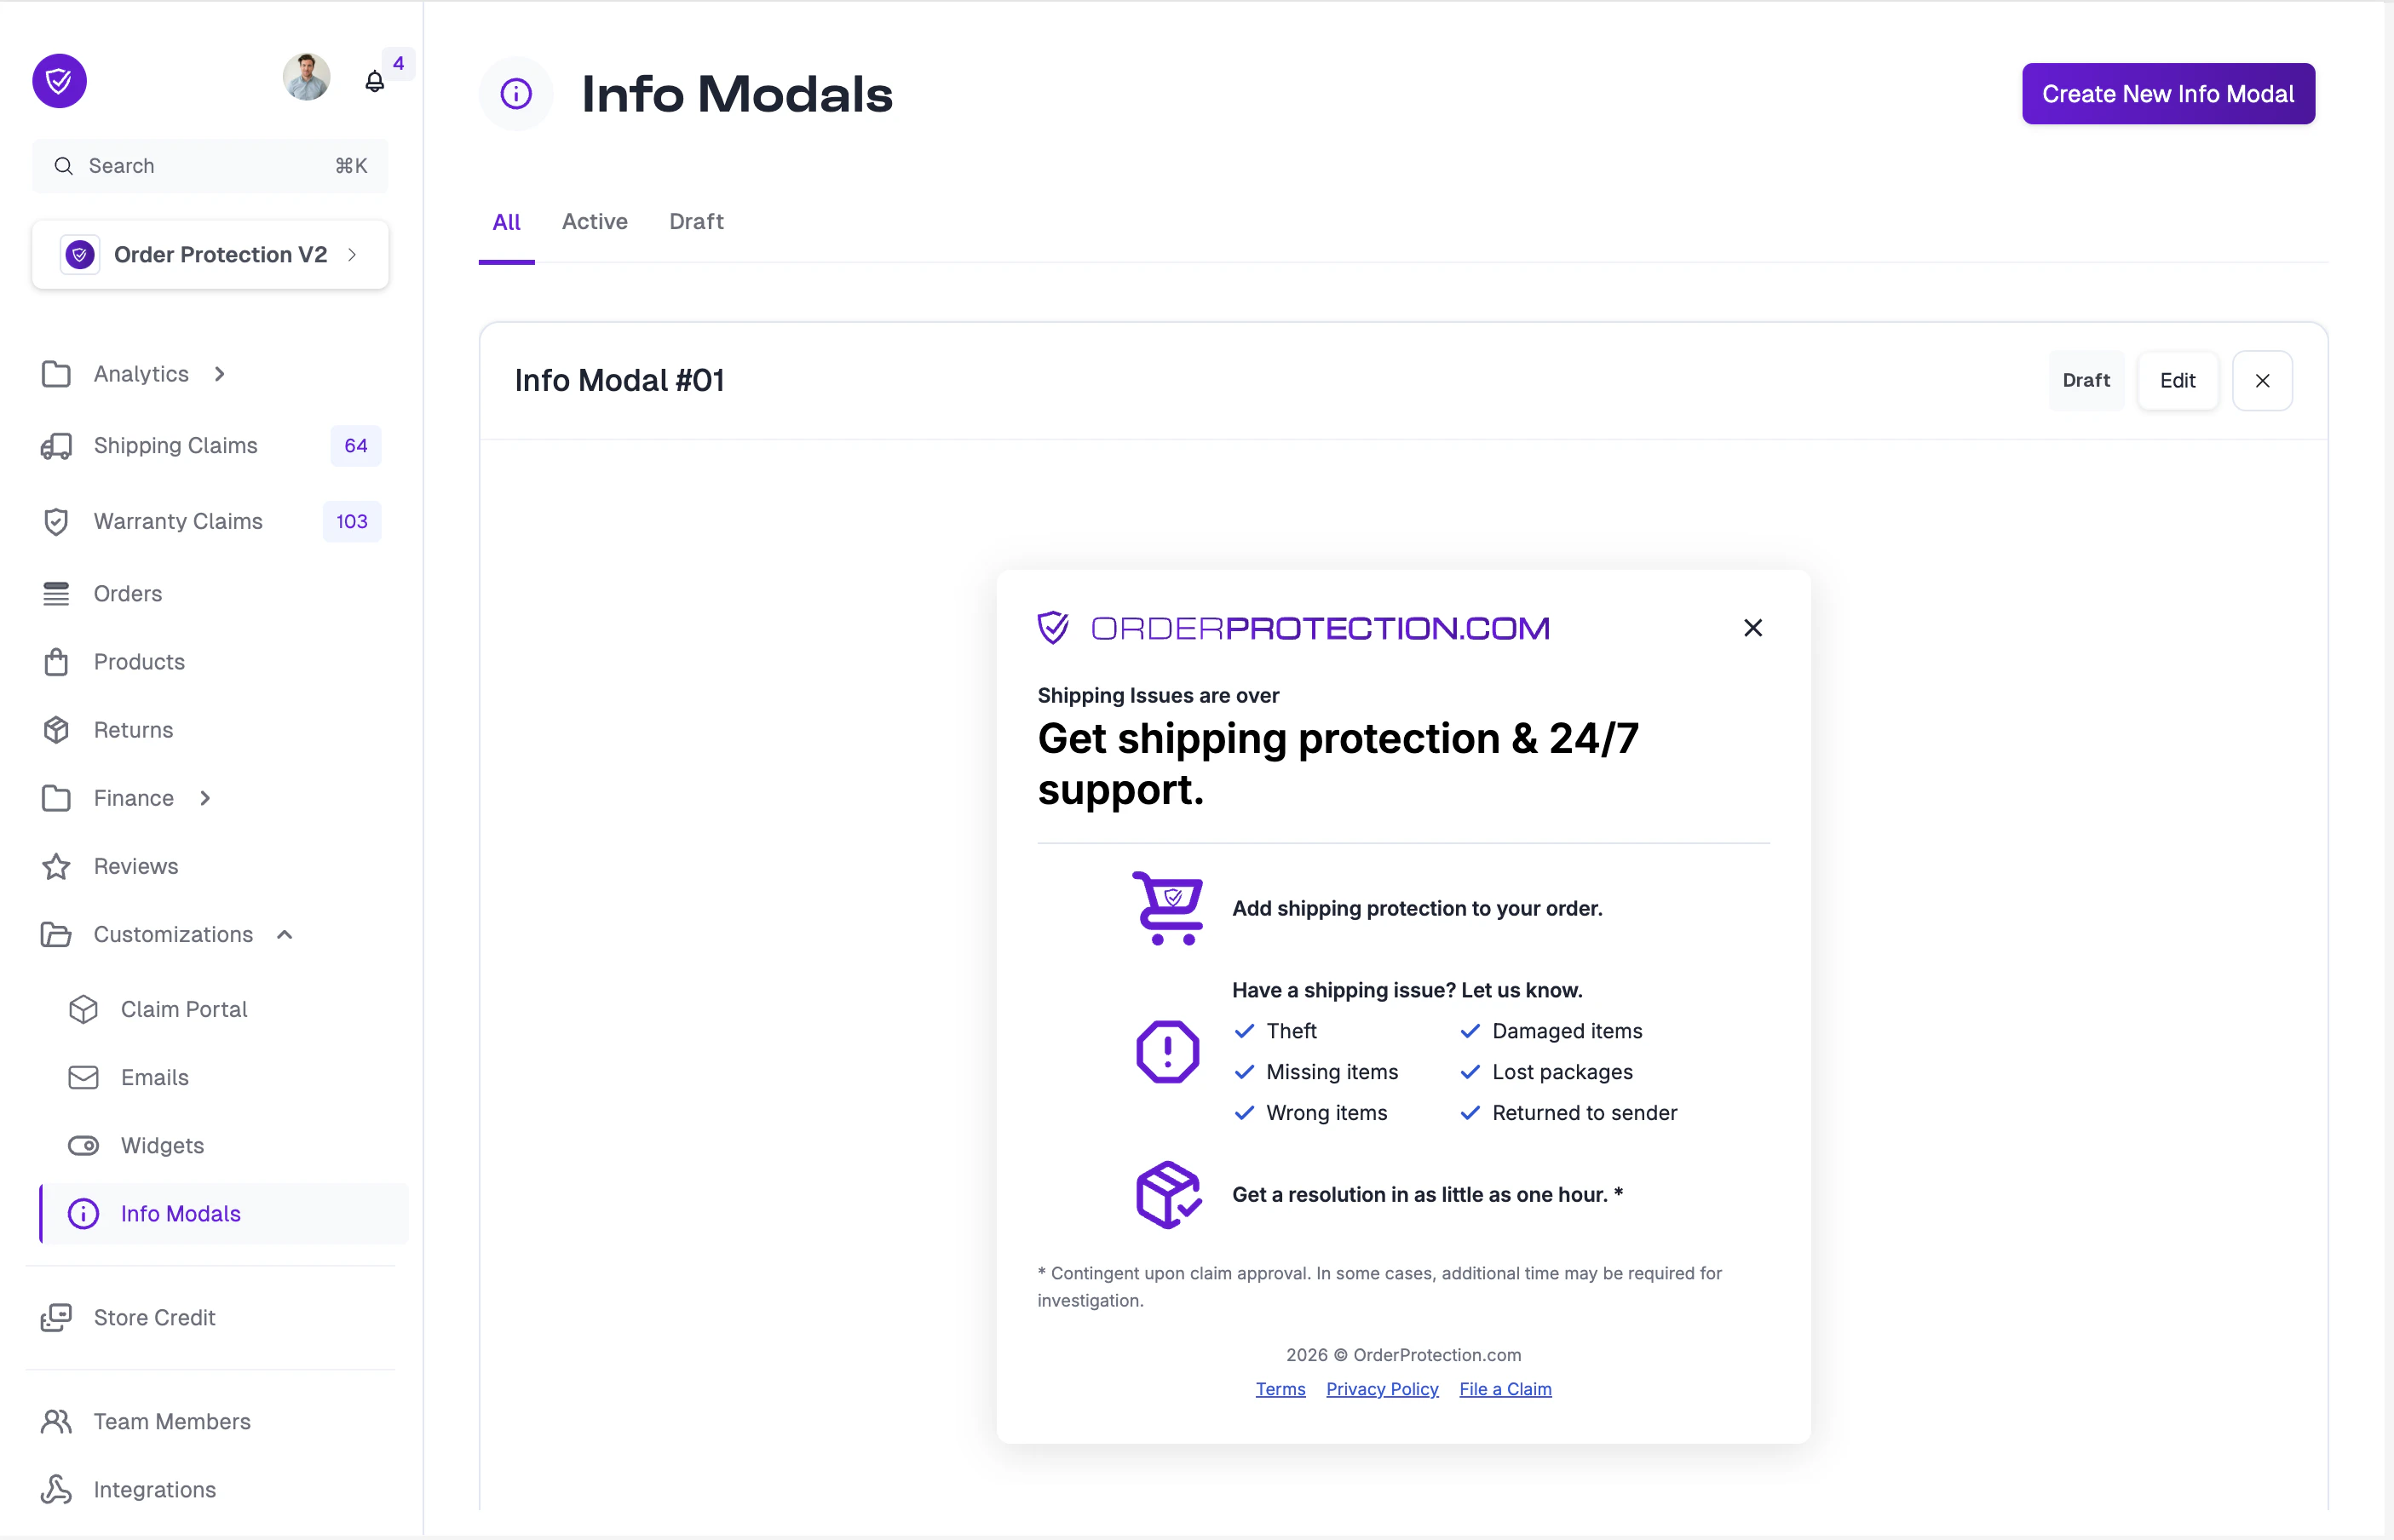
Navigate to Info Modals
From the left-hand menu, go to Customizations and select the Info Modals tab.
2
Click Create New Info Modal
Click the Create New Info Modal button in the top-right corner. A new modal will be created with default content that you can customize.
Editing an Info Modal
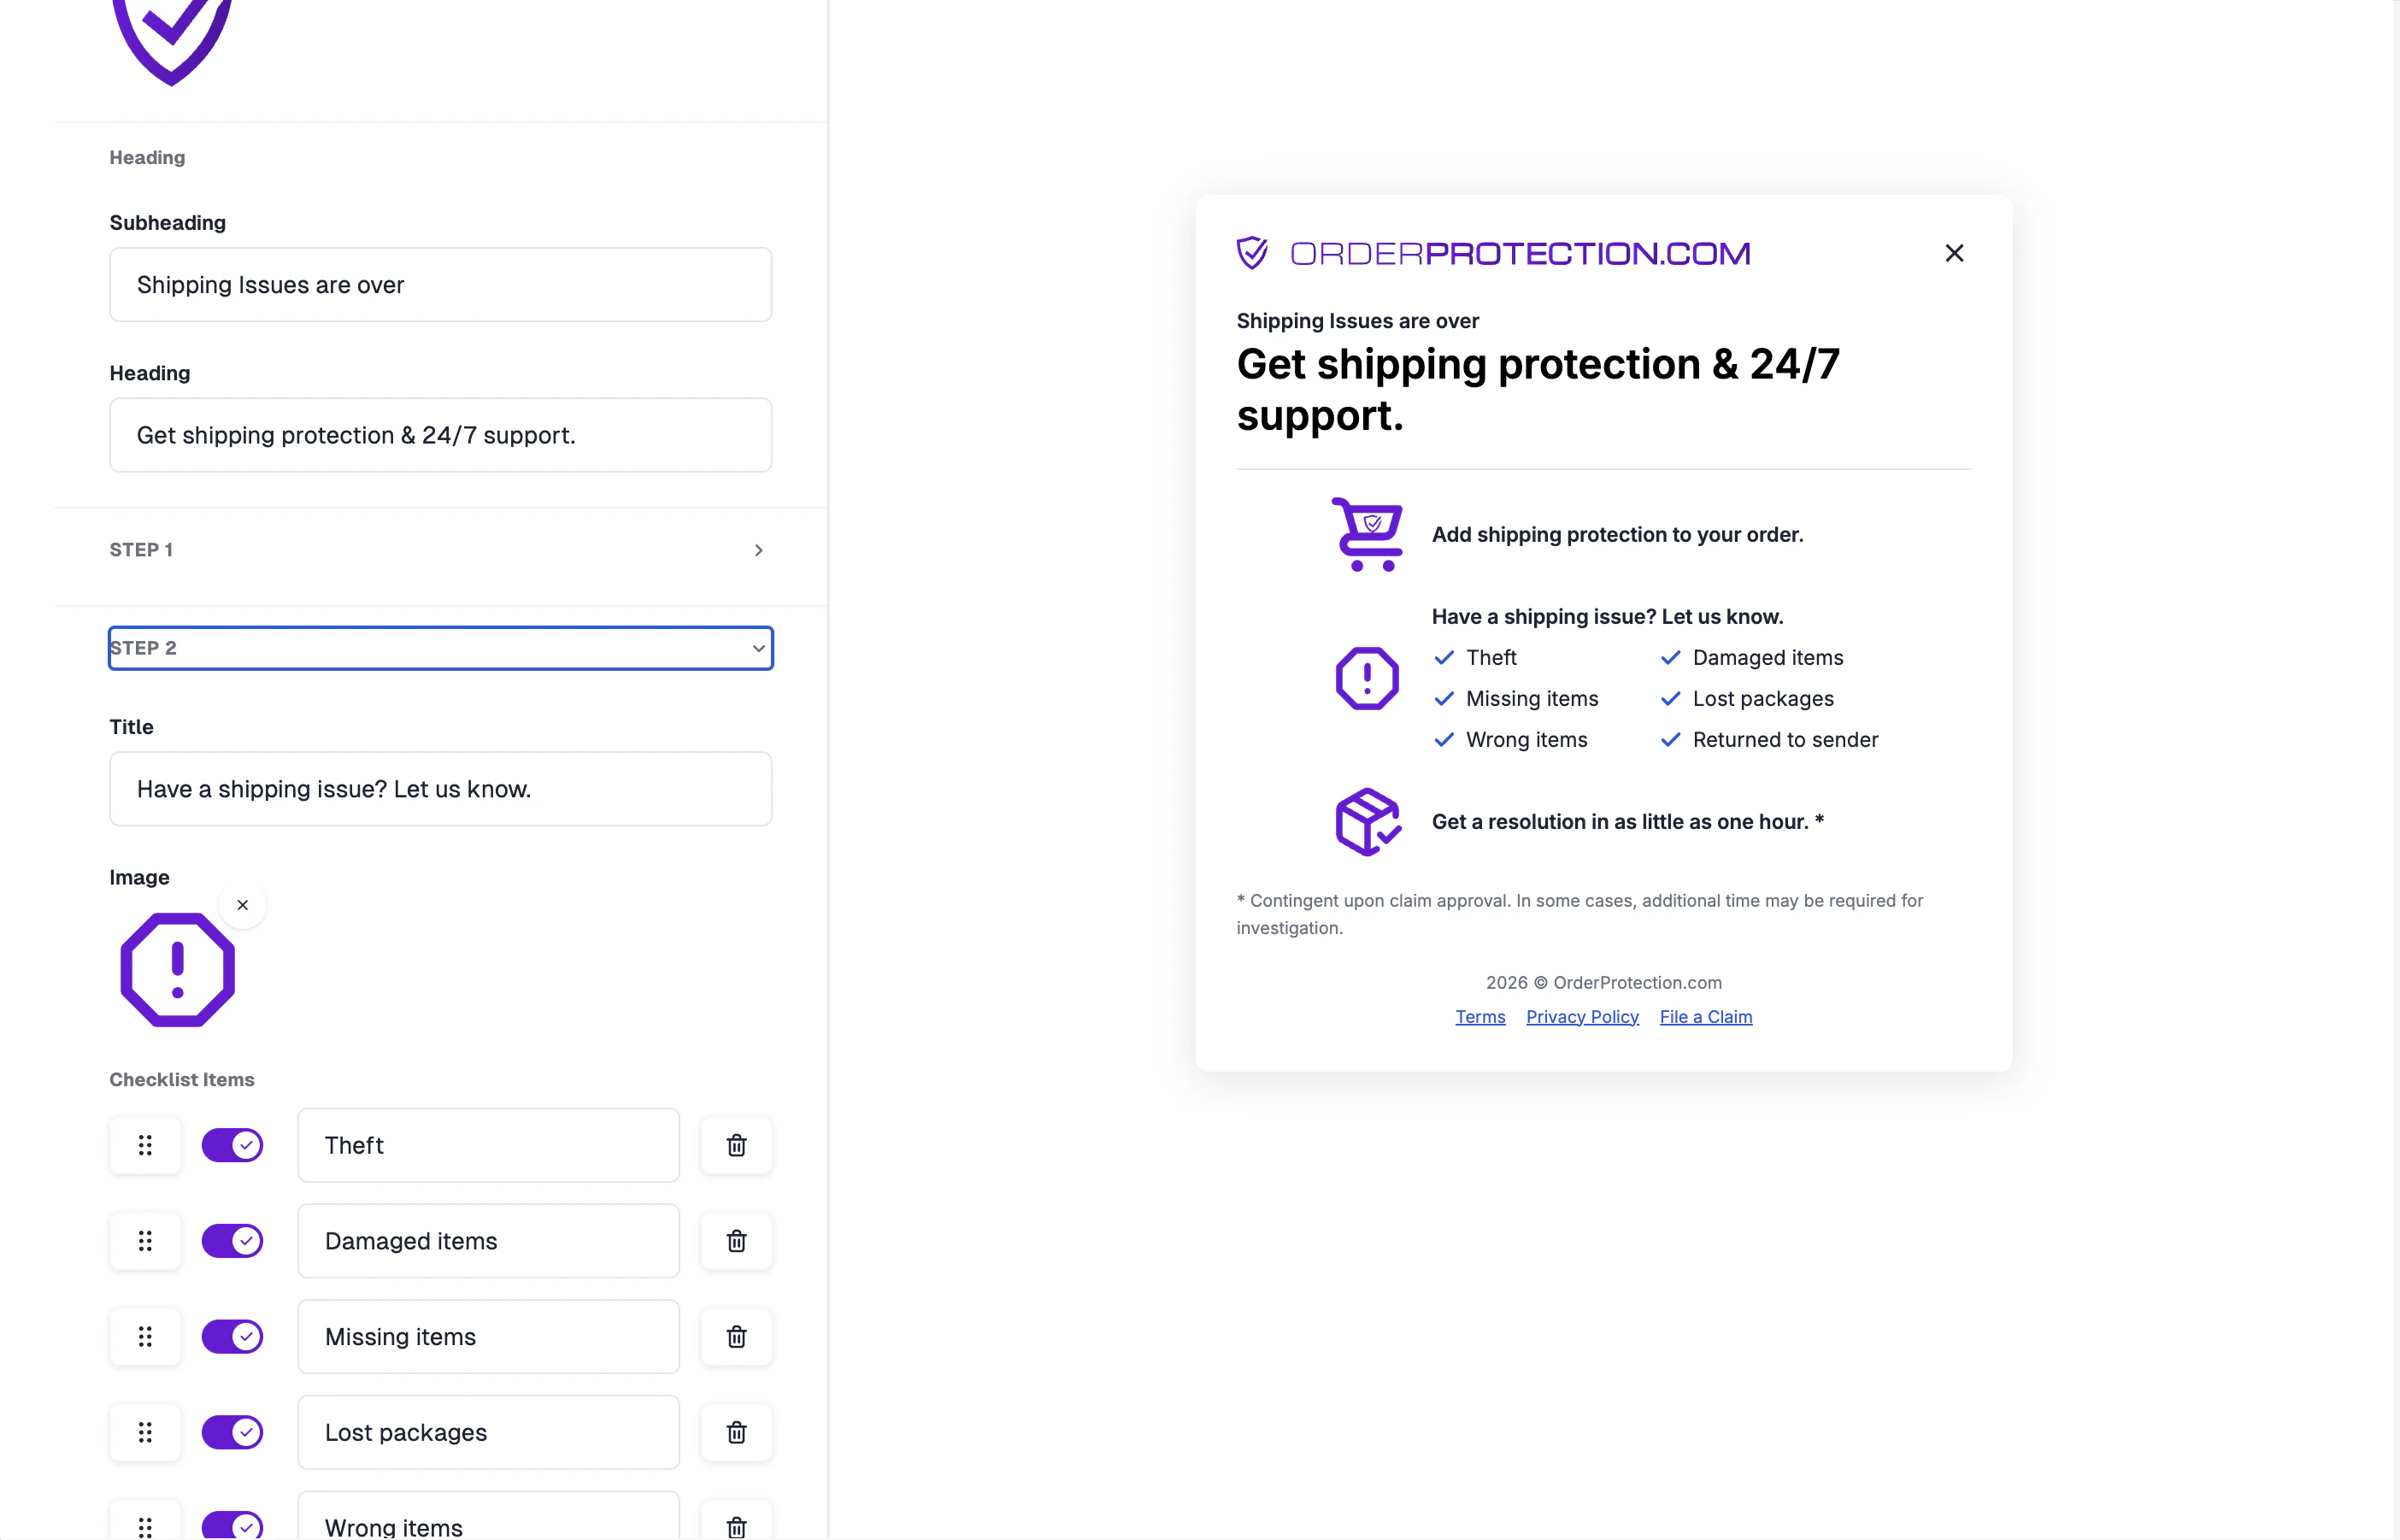
Click Edit on any info modal card to open the editor. The editor uses a split-screen layout: the Customizer sidebar on the left and a live modal preview on the right.Heading & Subheading
- Subheading: Appears above the main heading in smaller text (e.g., “Shipping issues are over”).
- Heading: The main title of the modal (e.g., “Get shipping protection & 24/7 support.”).
Step Configuration
The modal uses a three-step layout to walk customers through how Order Protection works. Select each step tab (Step 1, Step 2, Step 3) to configure:- Title: Describe what this step covers (e.g., “Have a shipping issue? Let us know.”).
- Image: Upload a custom icon or image for the step.
Checklist Items
Step 2 includes a checklist of coverage scenarios displayed in the modal. Each item is fully customizable:- Edit text: Click on any checklist item to change its label to match your coverage offering.
- Toggle on/off: Enable or disable individual items that don’t apply to your coverage.
- Add/remove items: Add new checklist items or remove existing ones as needed.
Footer
The bottom of the modal includes:- Terms and Privacy Policy links
- File a Claim link to your claims portal
- Copyright notice with the current year
Advanced Configuration
The Advanced Config tab provides a JSON editor for direct manipulation of the full modal configuration. Import your config by pasting it into the editor, or click Open Full Screen for an expanded editing view.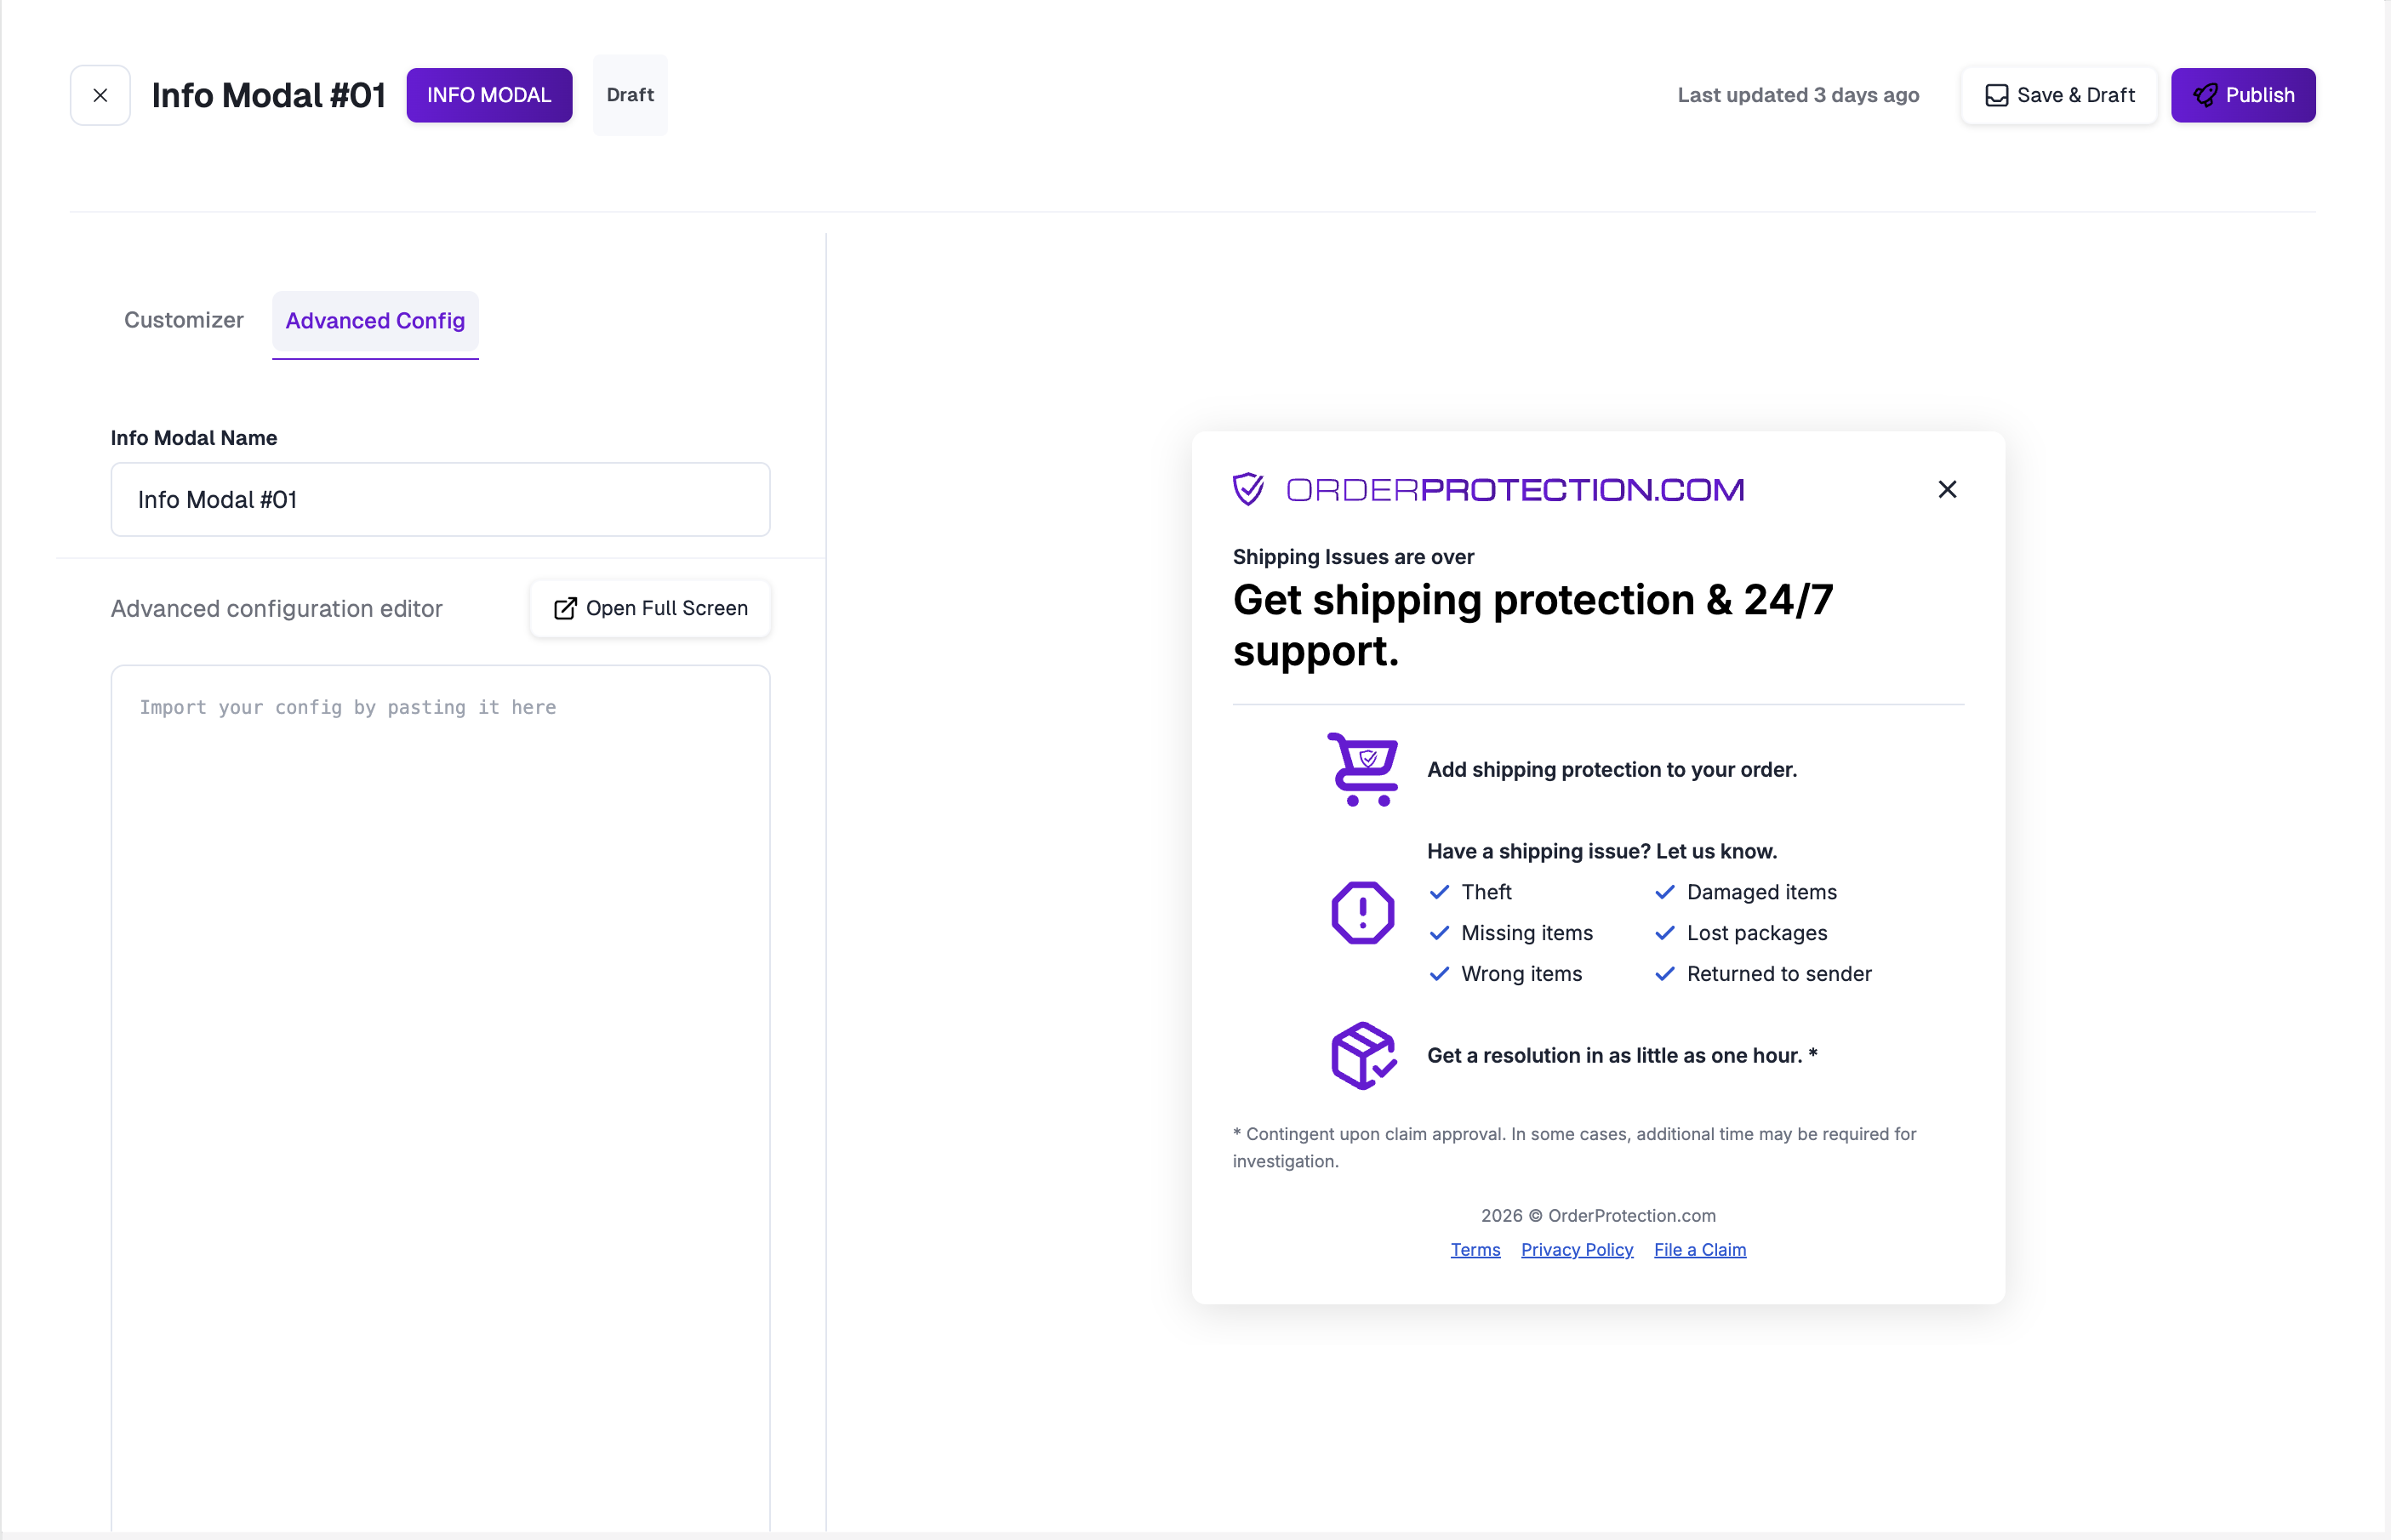
How It Looks On Site
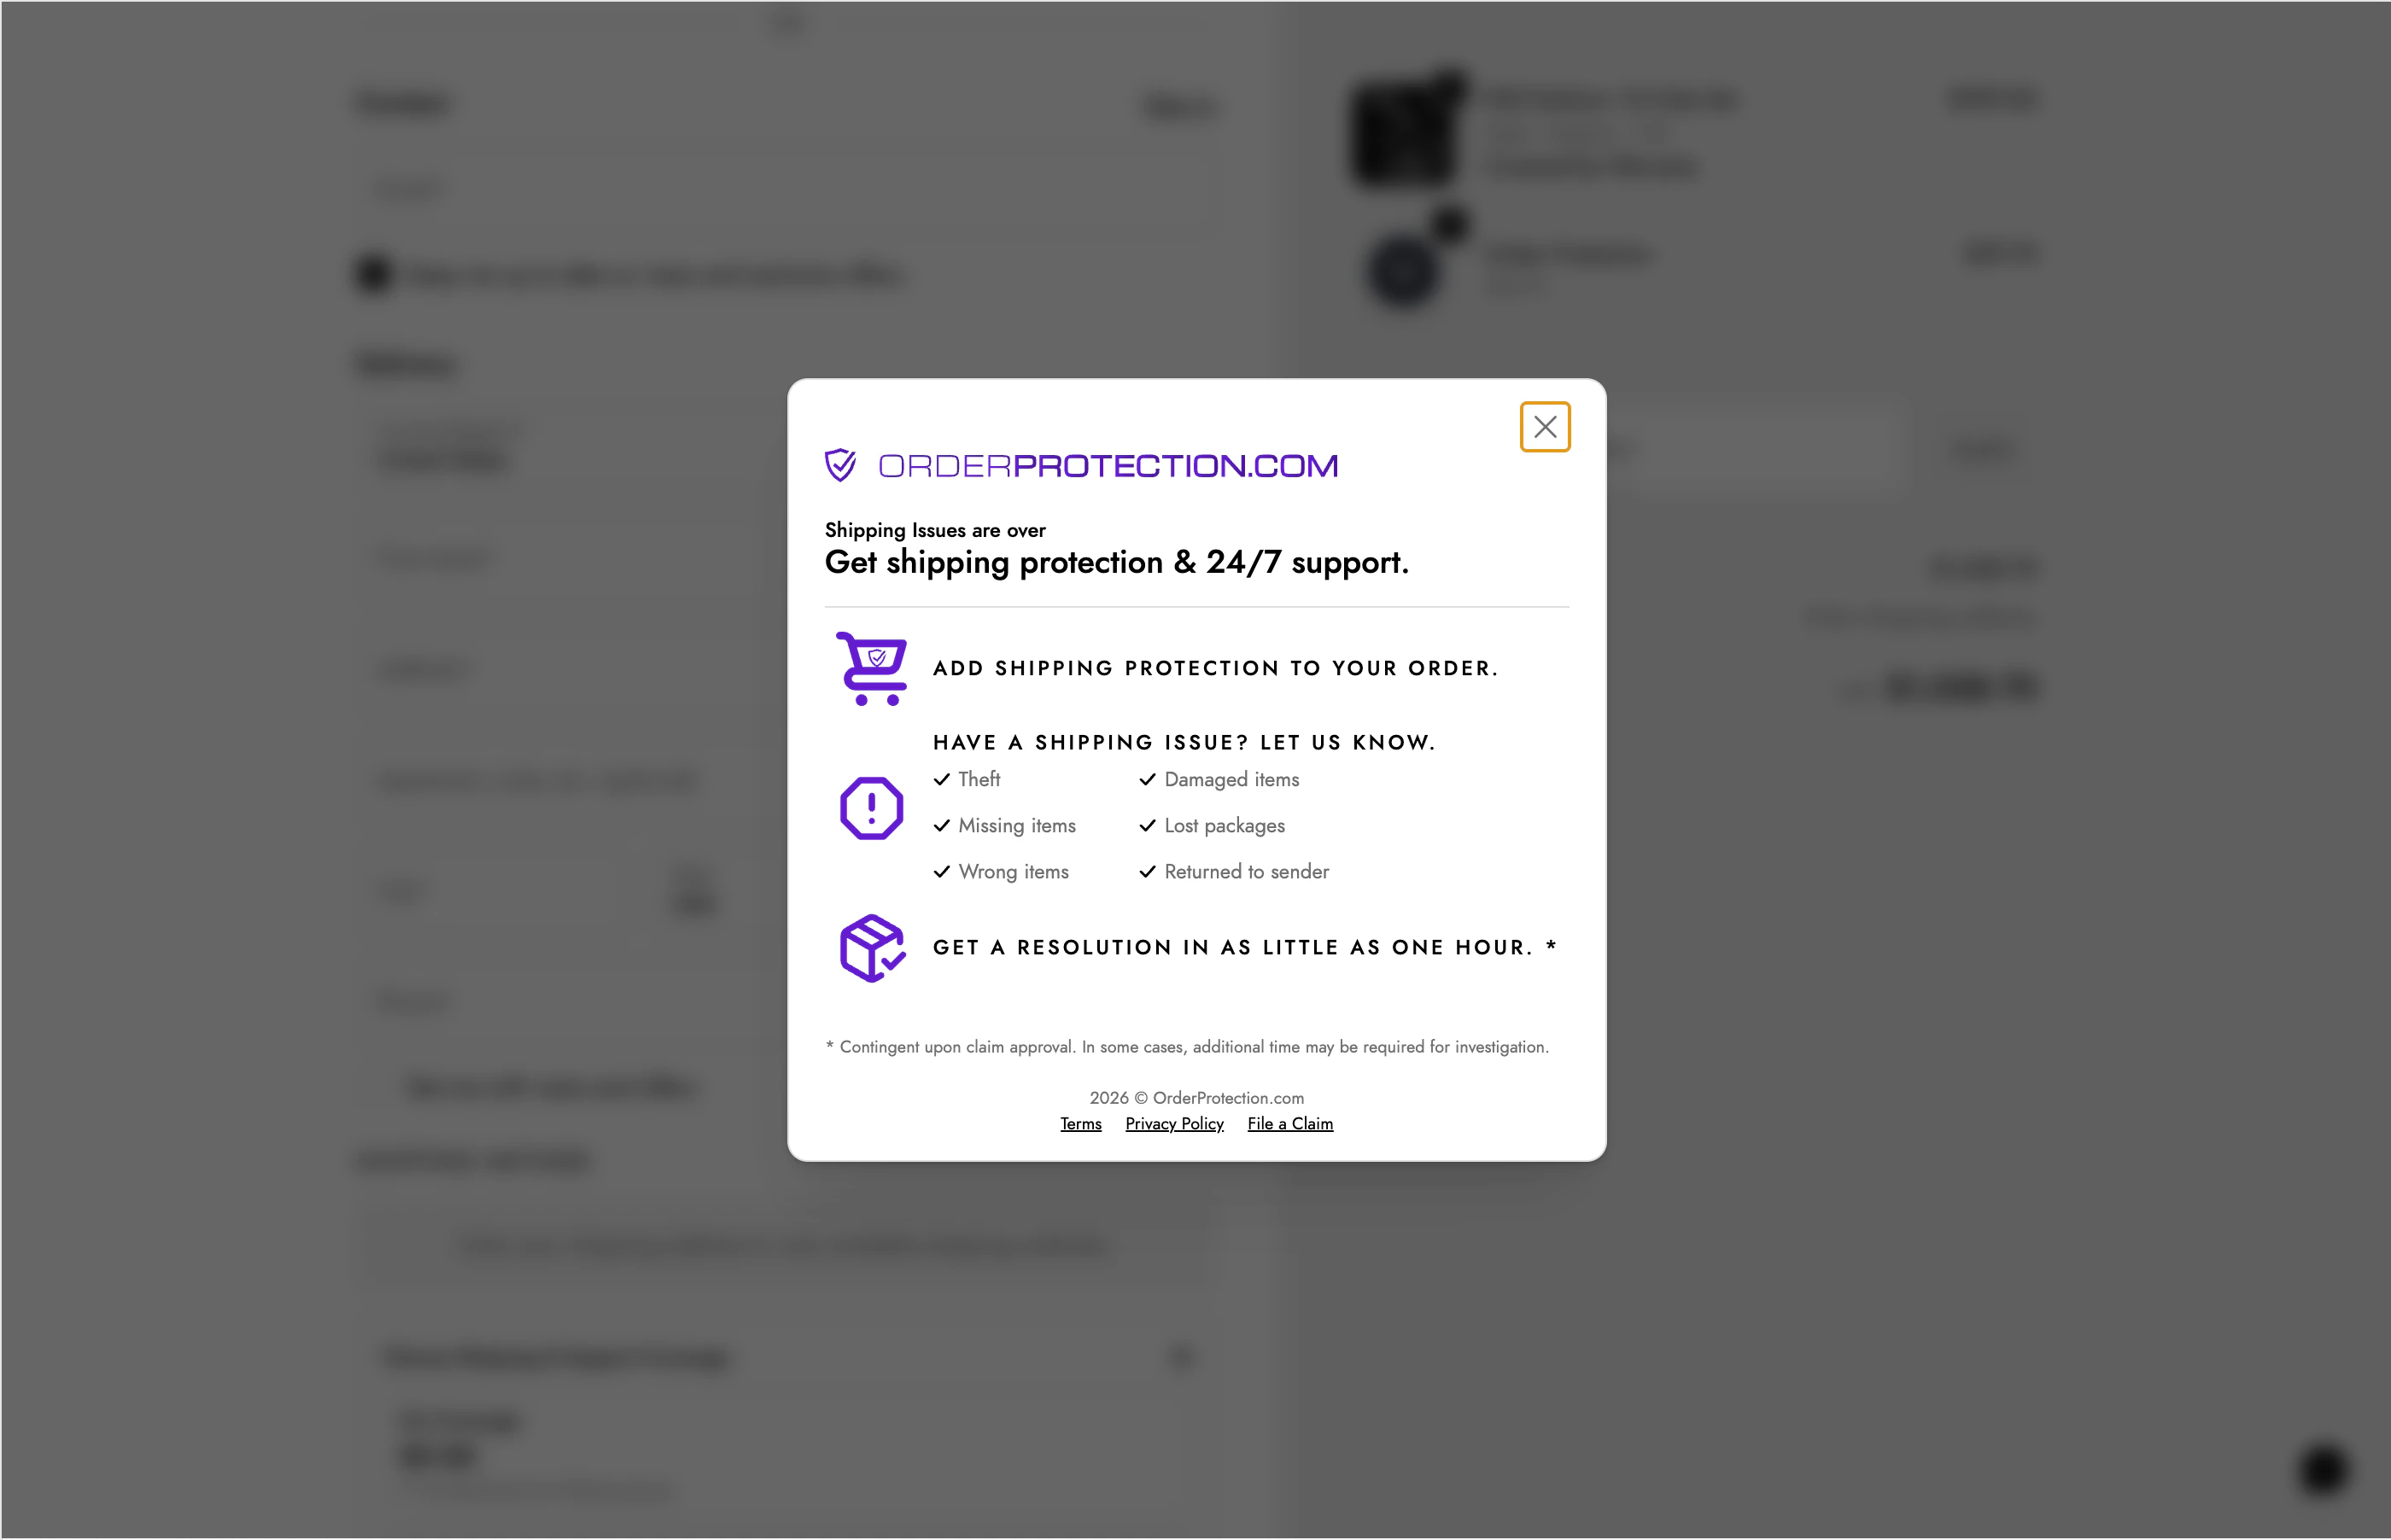
Once published and linked to a widget, the info modal appears as an overlay when customers click the information link. The modal displays your configured branding, steps, checklist items, and footer links.