> ## Documentation Index
> Fetch the complete documentation index at: https://docs.orderprotection.com/llms.txt
> Use this file to discover all available pages before exploring further.
# Message Macros
> Customize the voice of agents interacting with your customers using claim message macros.
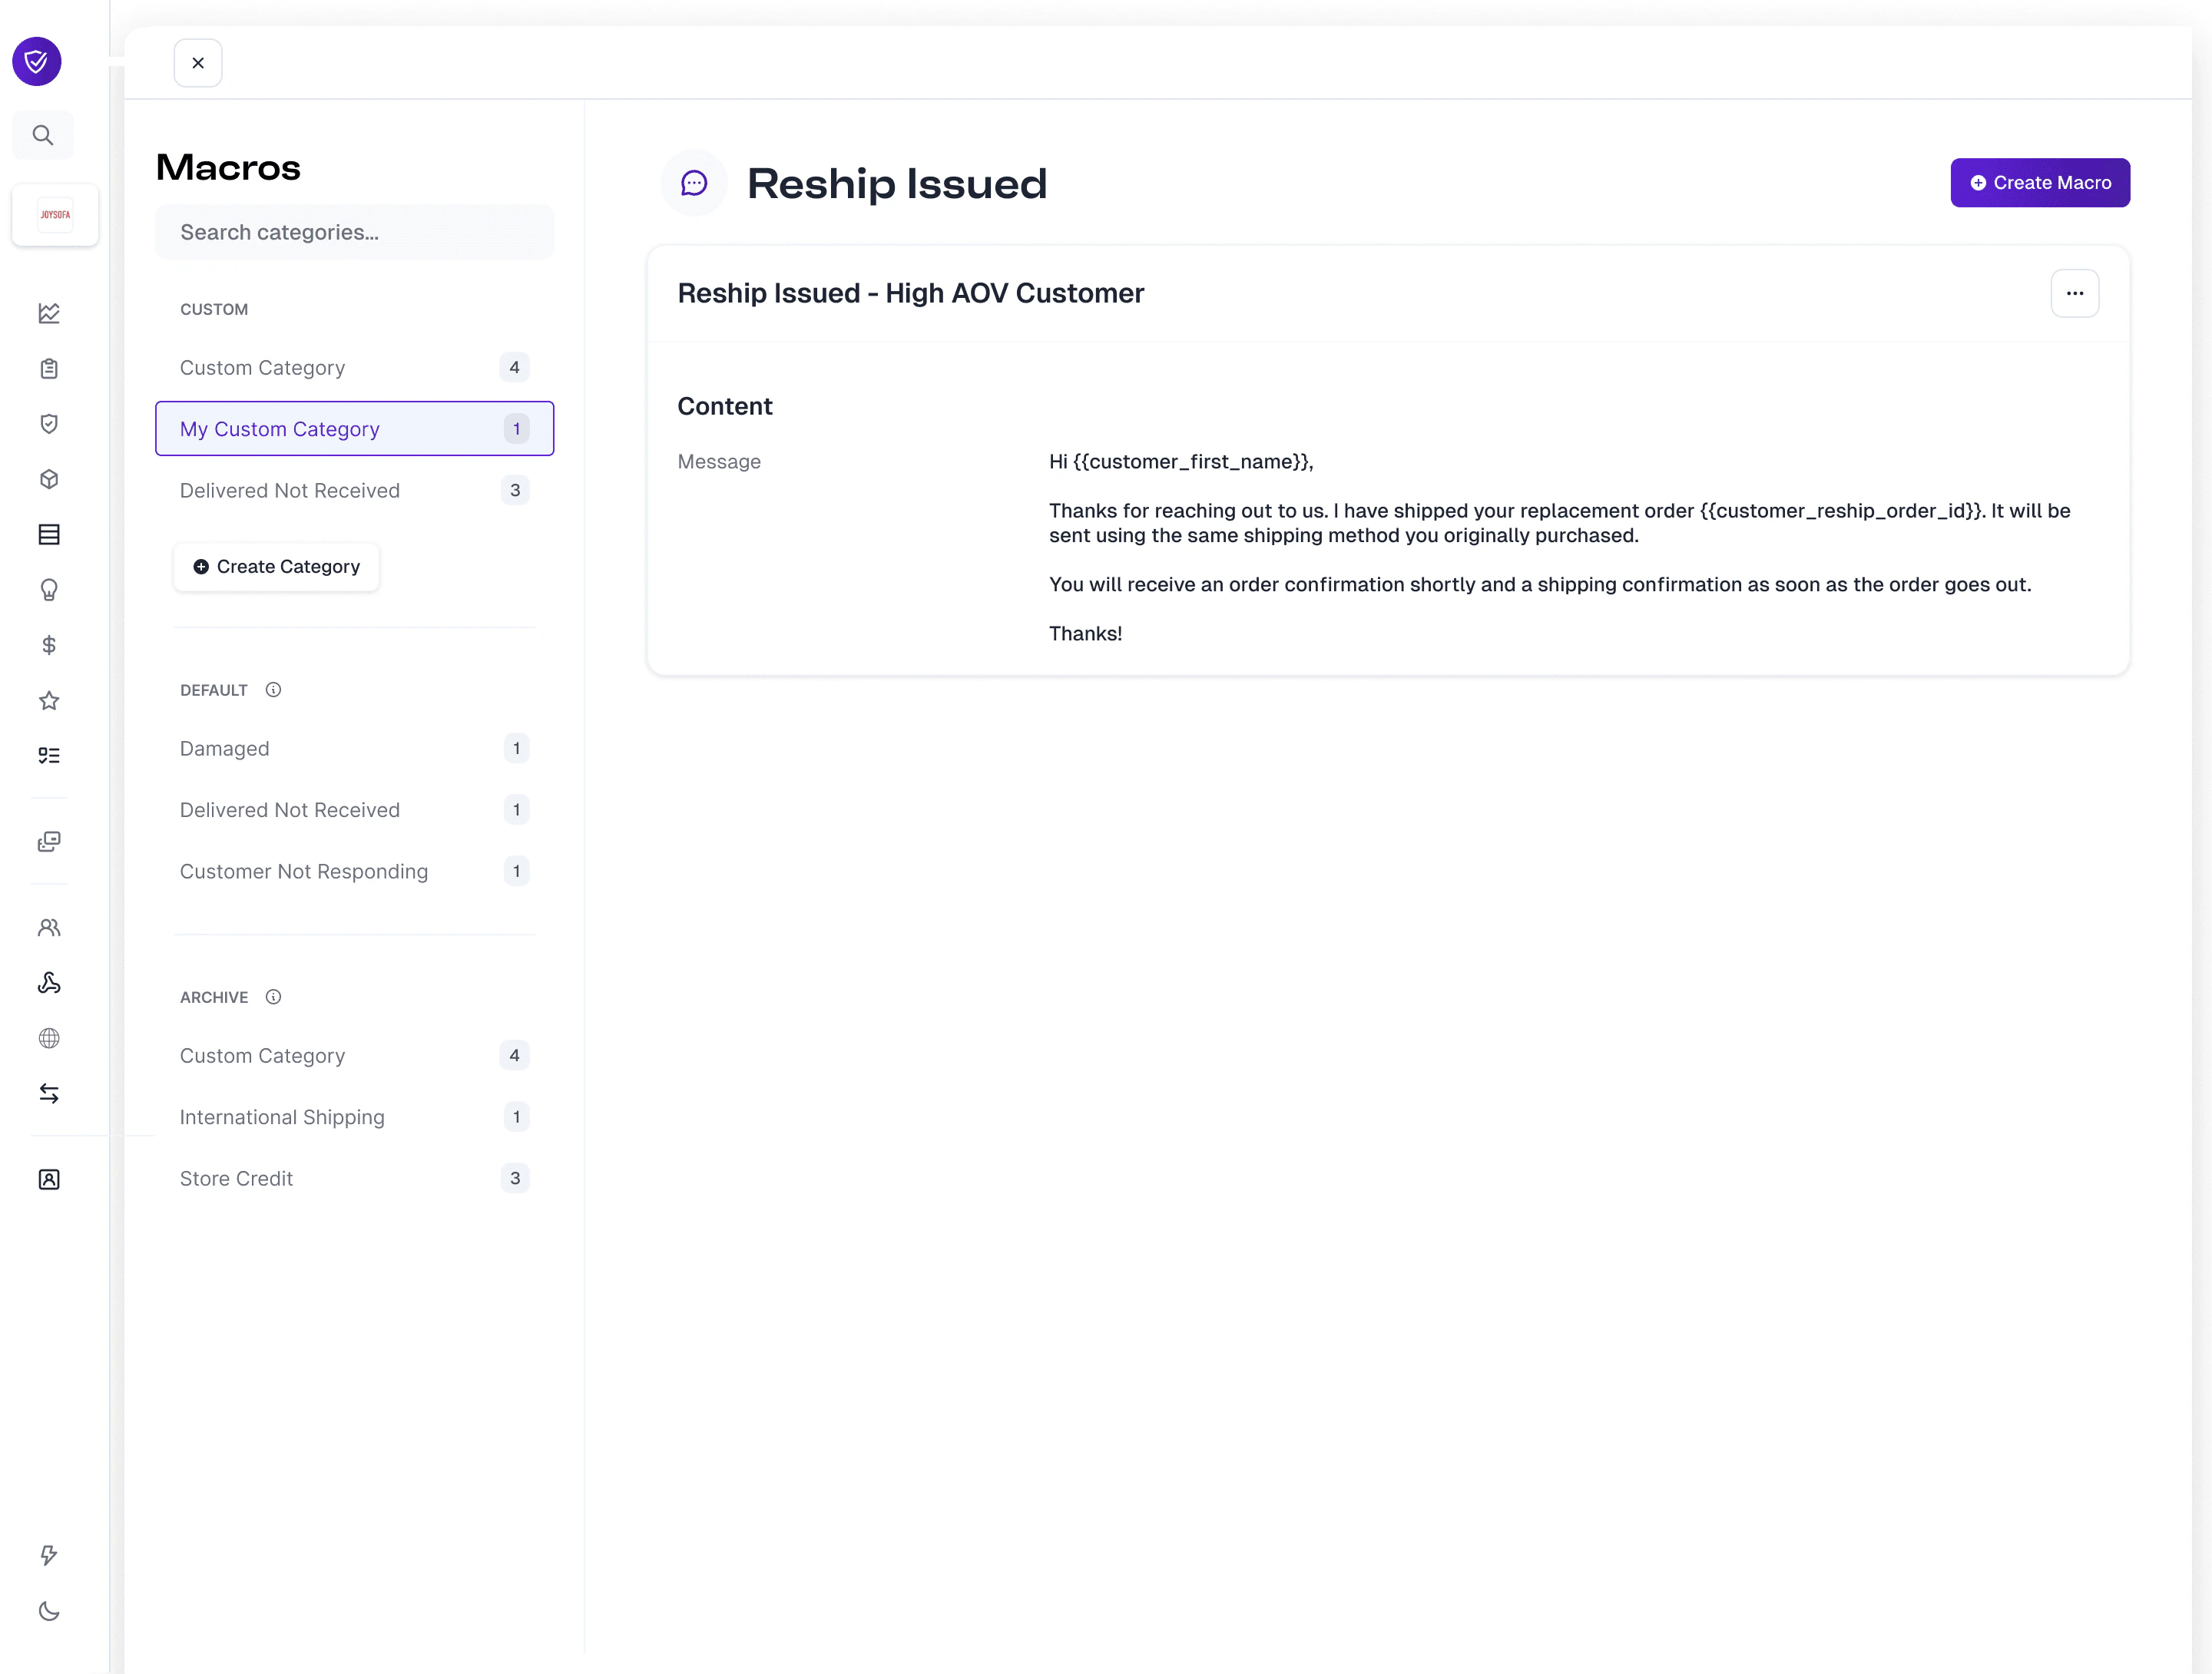
Claim message macros are a way to customize the voice of our agents as they interact with your customers throughout the claim filing and resolution process. Our macros are categorized into three sections: **Default**, **Custom**, and **Archive**.
The building blocks start with our default macros that are nested within our default categories. Both categories and macros can be customized to your specifications.
 ## Viewing and Editing Default Macros
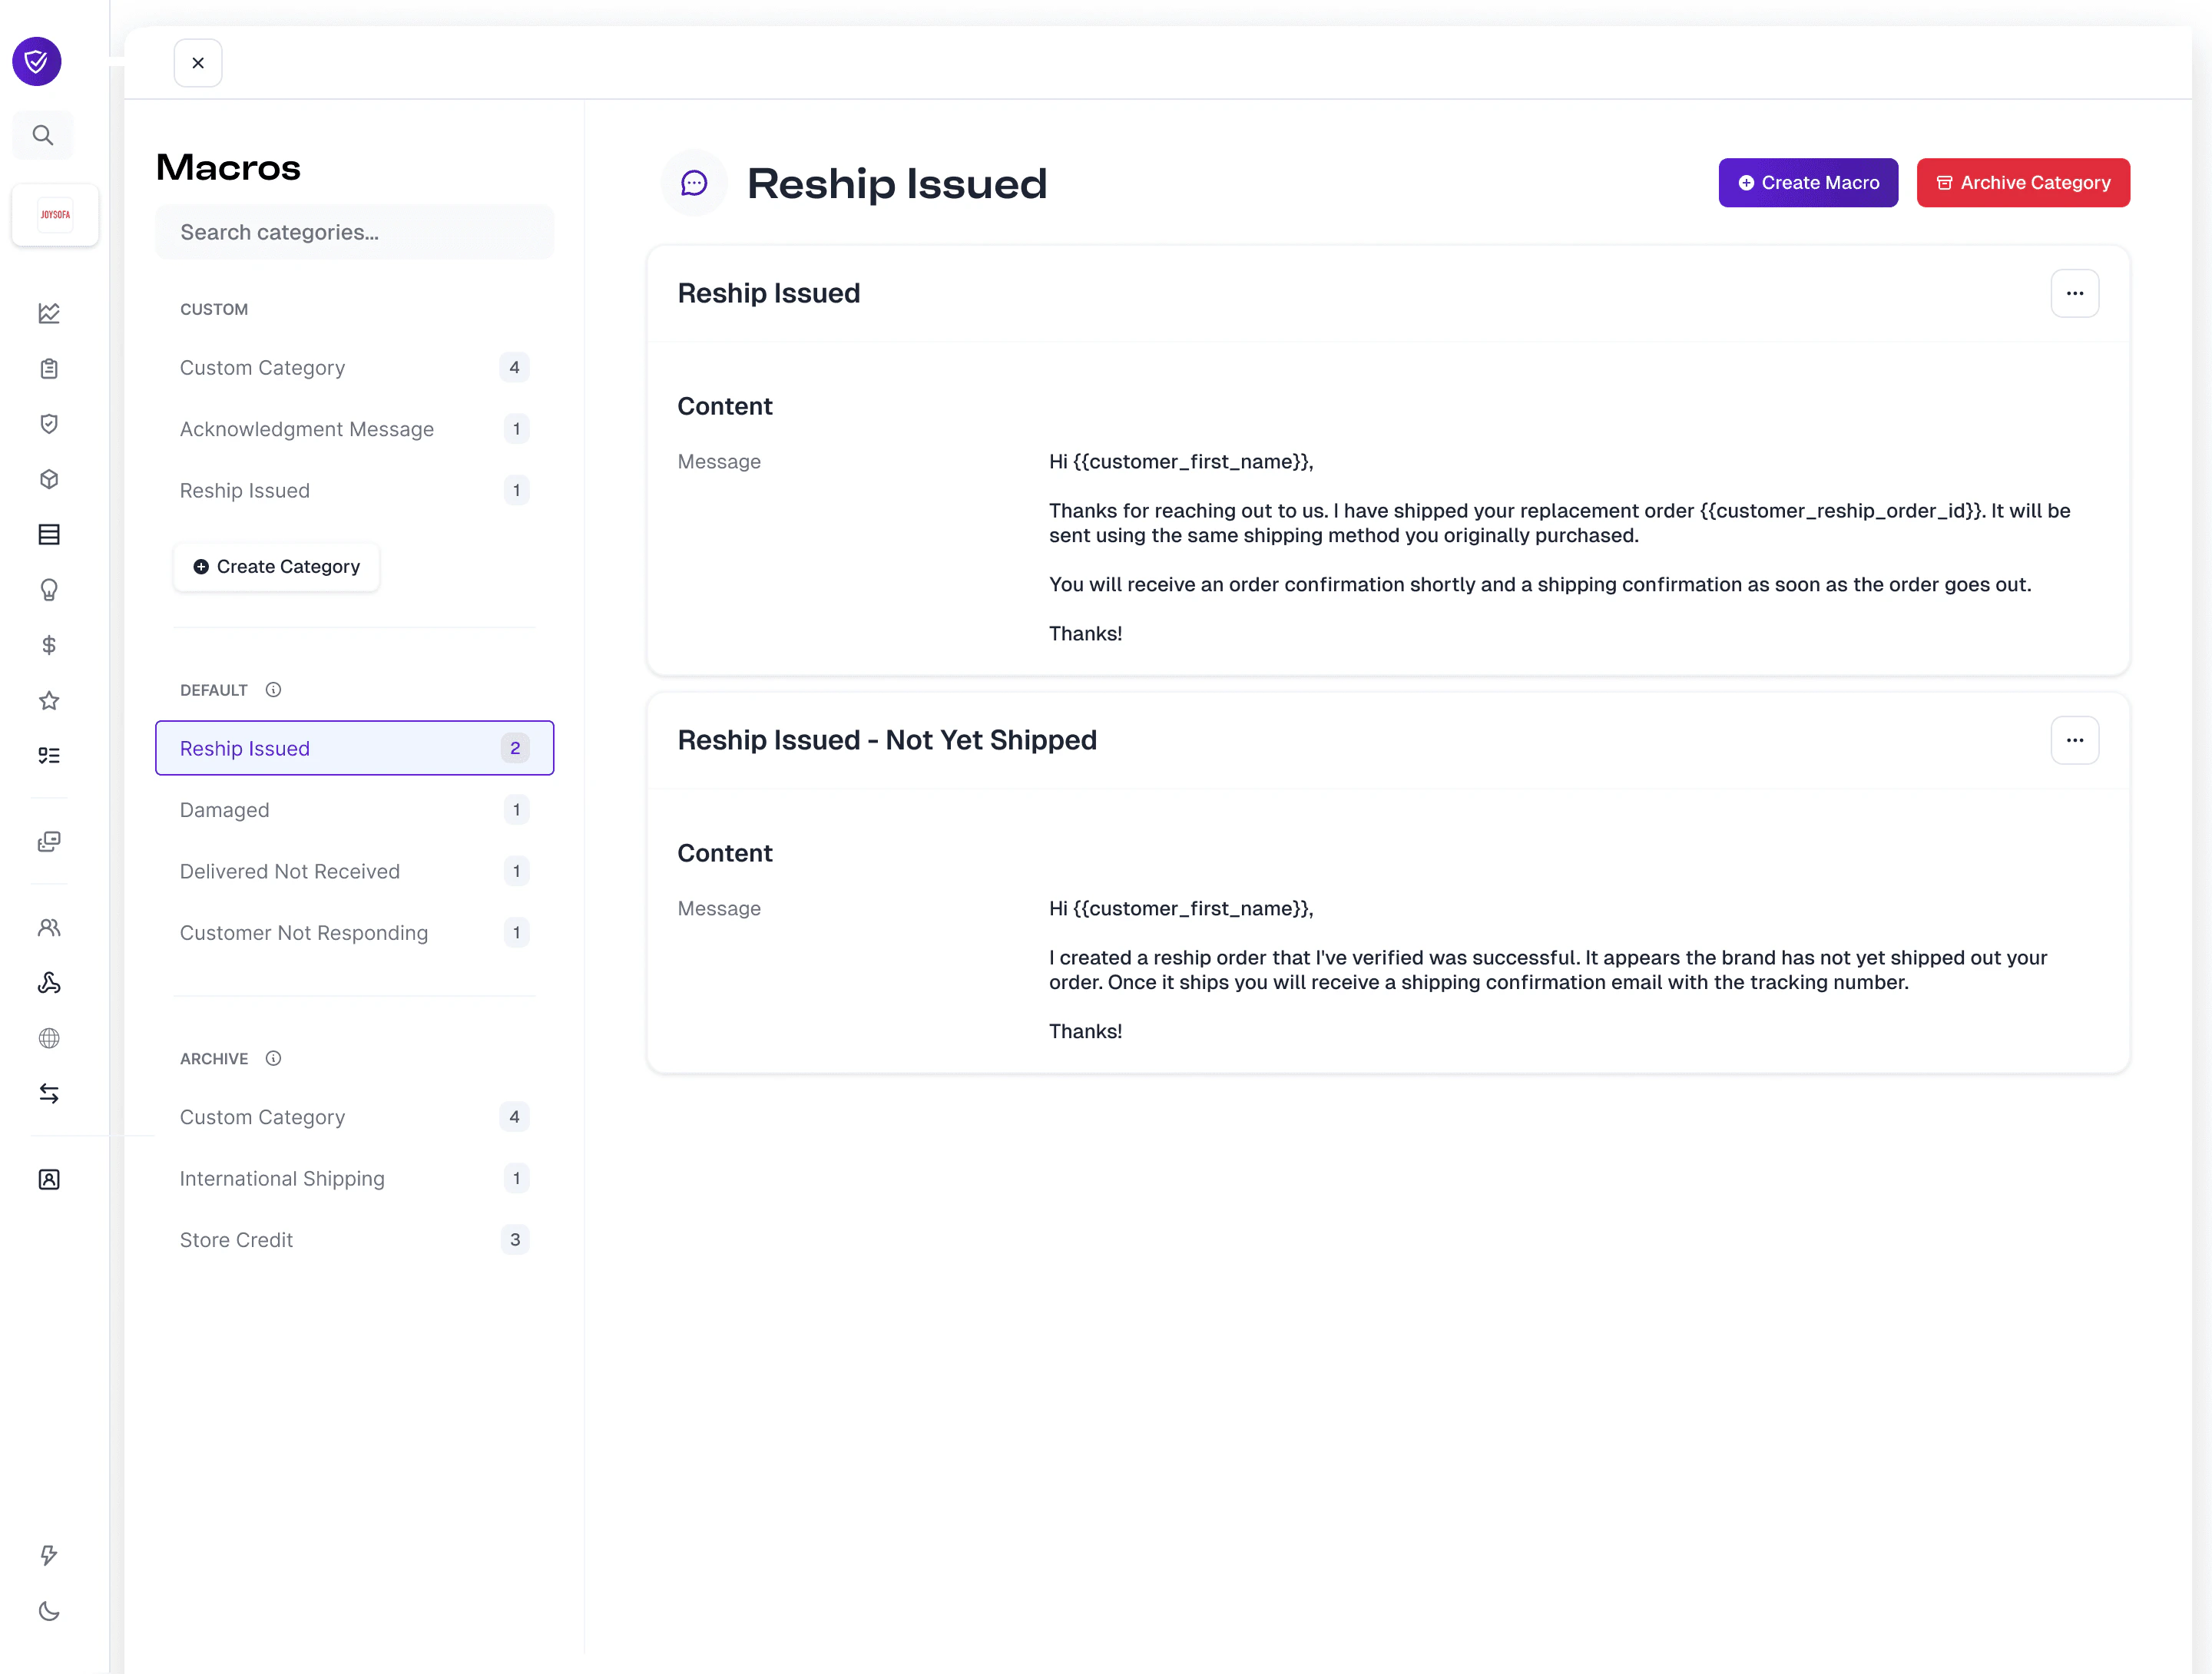
To familiarize yourself with the macros, navigate to the **Default** section and go through each of the categories. Within each category there is at least one macro that represents our standard message templates when starting/replying to messages with customers.
## Viewing and Editing Default Macros
To familiarize yourself with the macros, navigate to the **Default** section and go through each of the categories. Within each category there is at least one macro that represents our standard message templates when starting/replying to messages with customers.
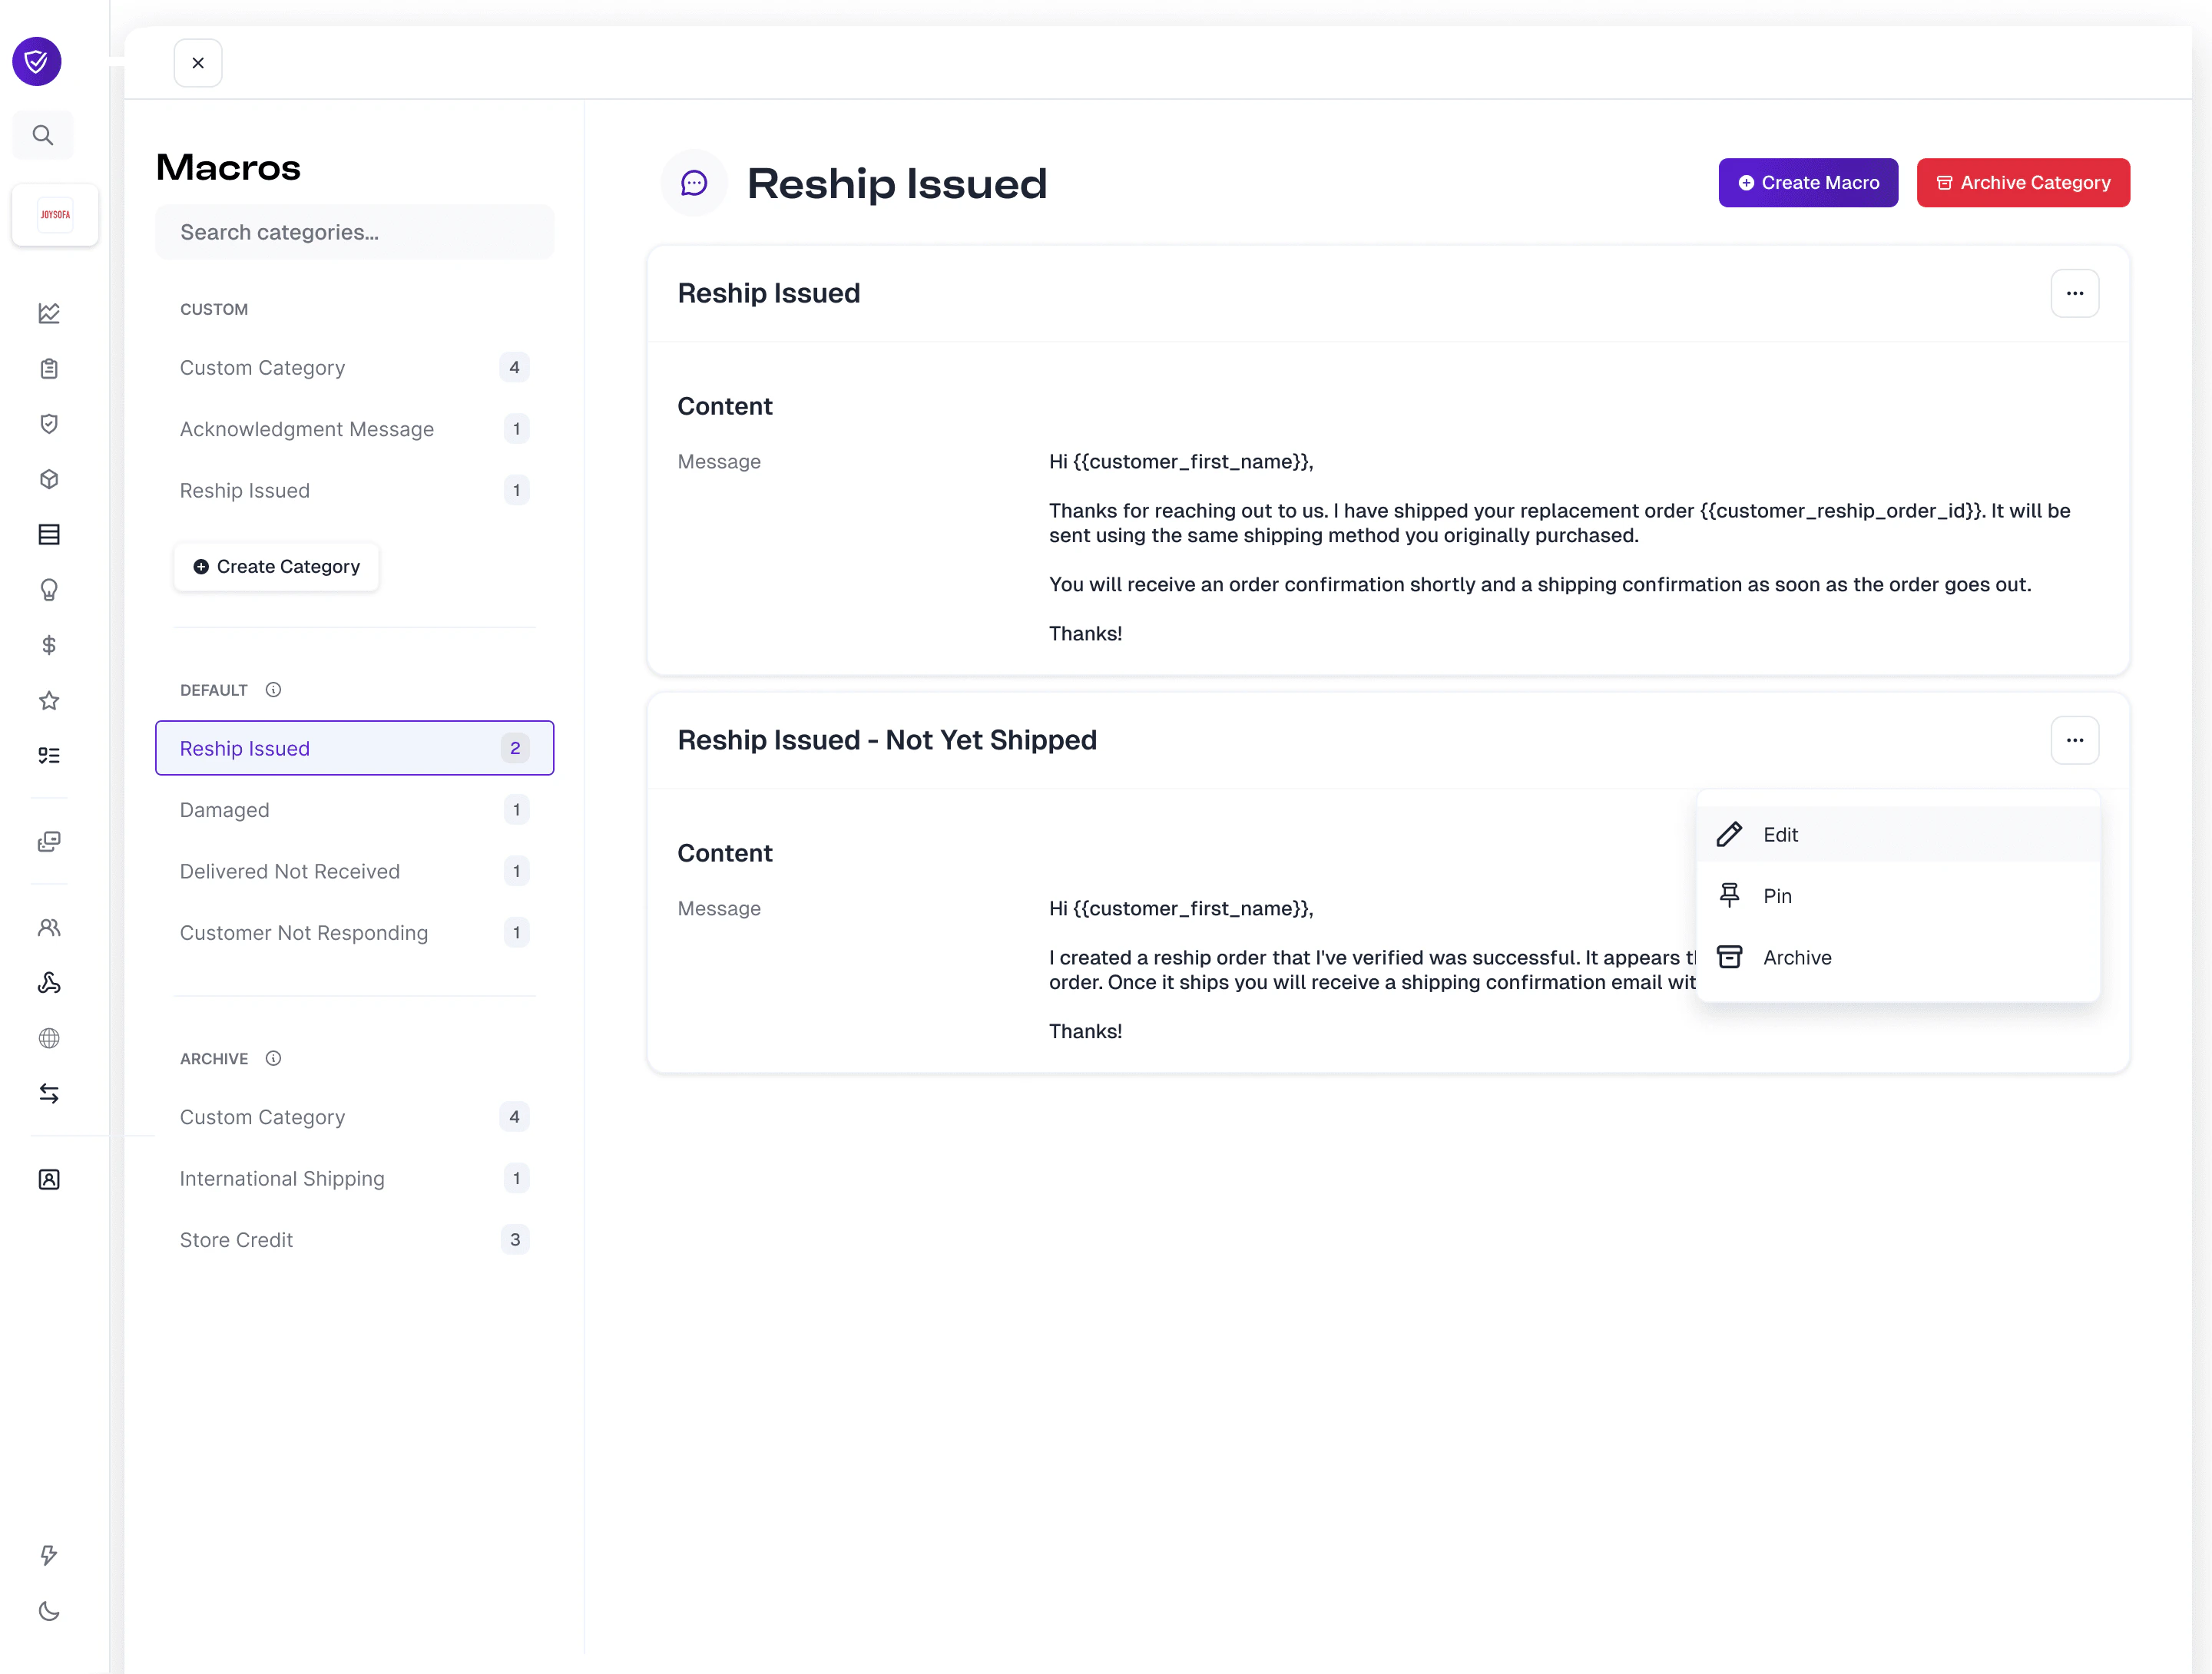 From within a default macro, you have three potential actions:
* **Edit**
* **Pin**
* **Archive**
### Editing
When editing a default macro, you are given options to edit the **macro name** and the **macro content**, but not the category. This is by design to ensure that all edited default macros stay categorized within the proper category.
From within a default macro, you have three potential actions:
* **Edit**
* **Pin**
* **Archive**
### Editing
When editing a default macro, you are given options to edit the **macro name** and the **macro content**, but not the category. This is by design to ensure that all edited default macros stay categorized within the proper category.
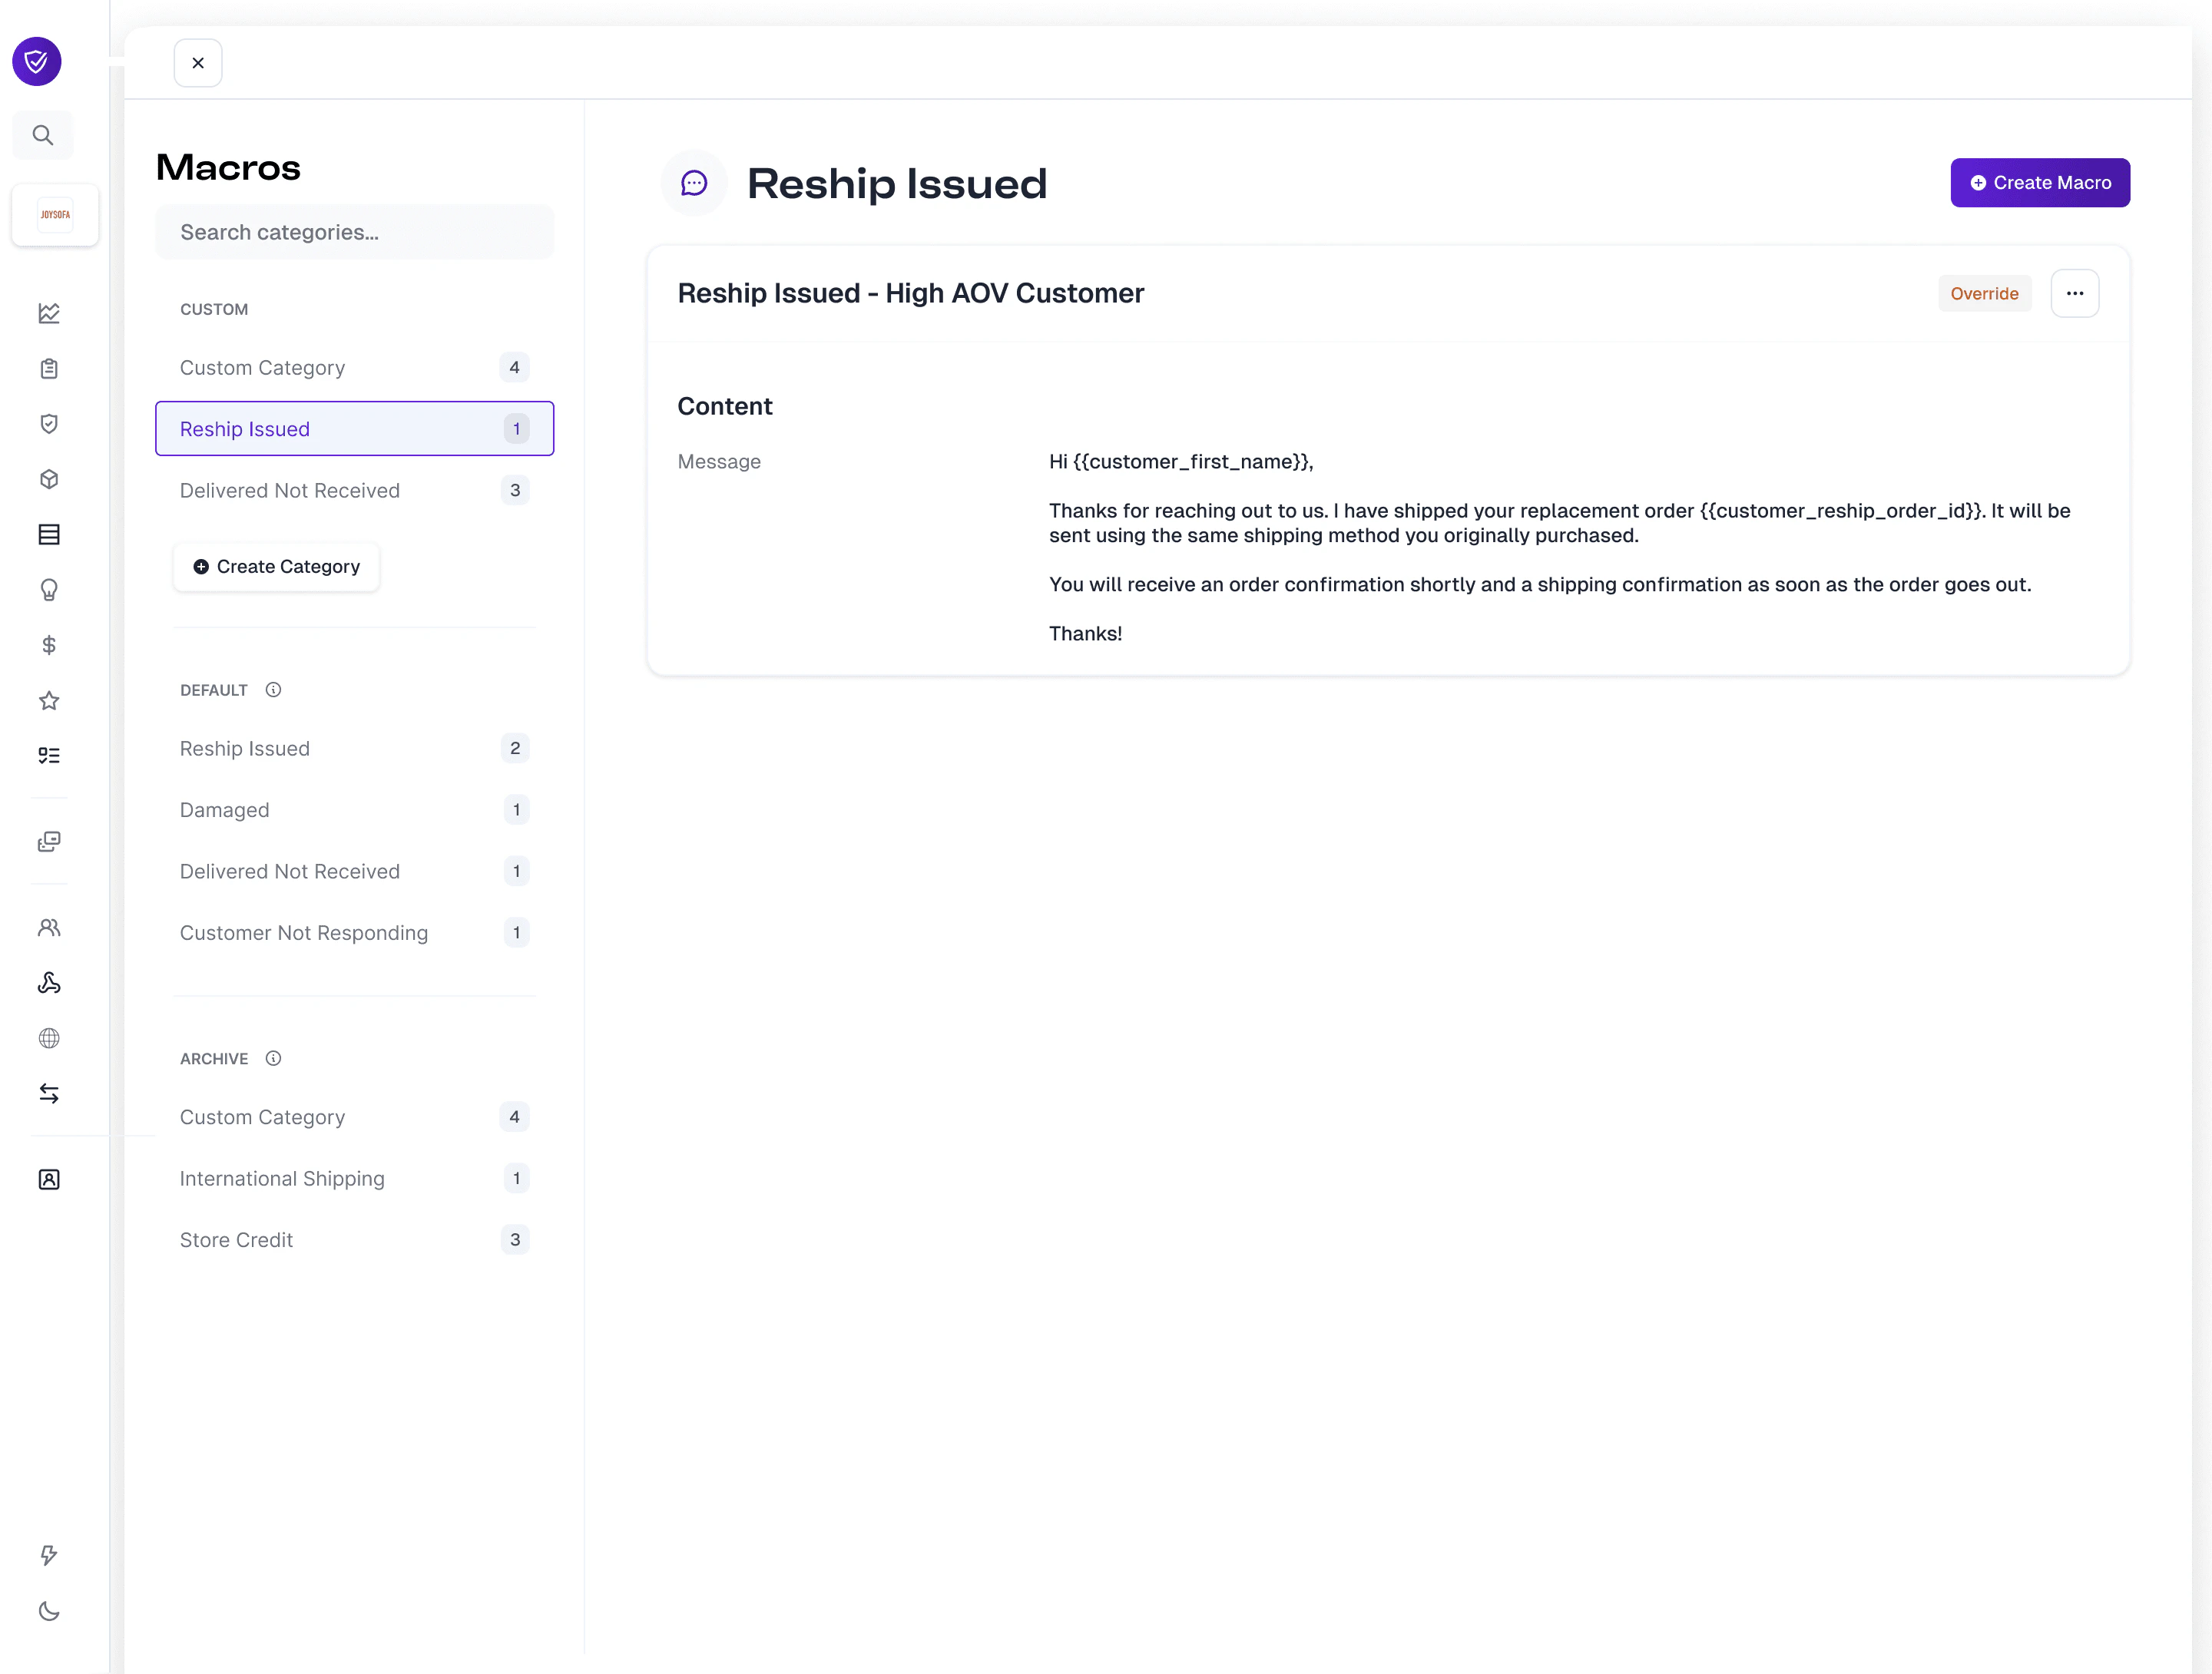
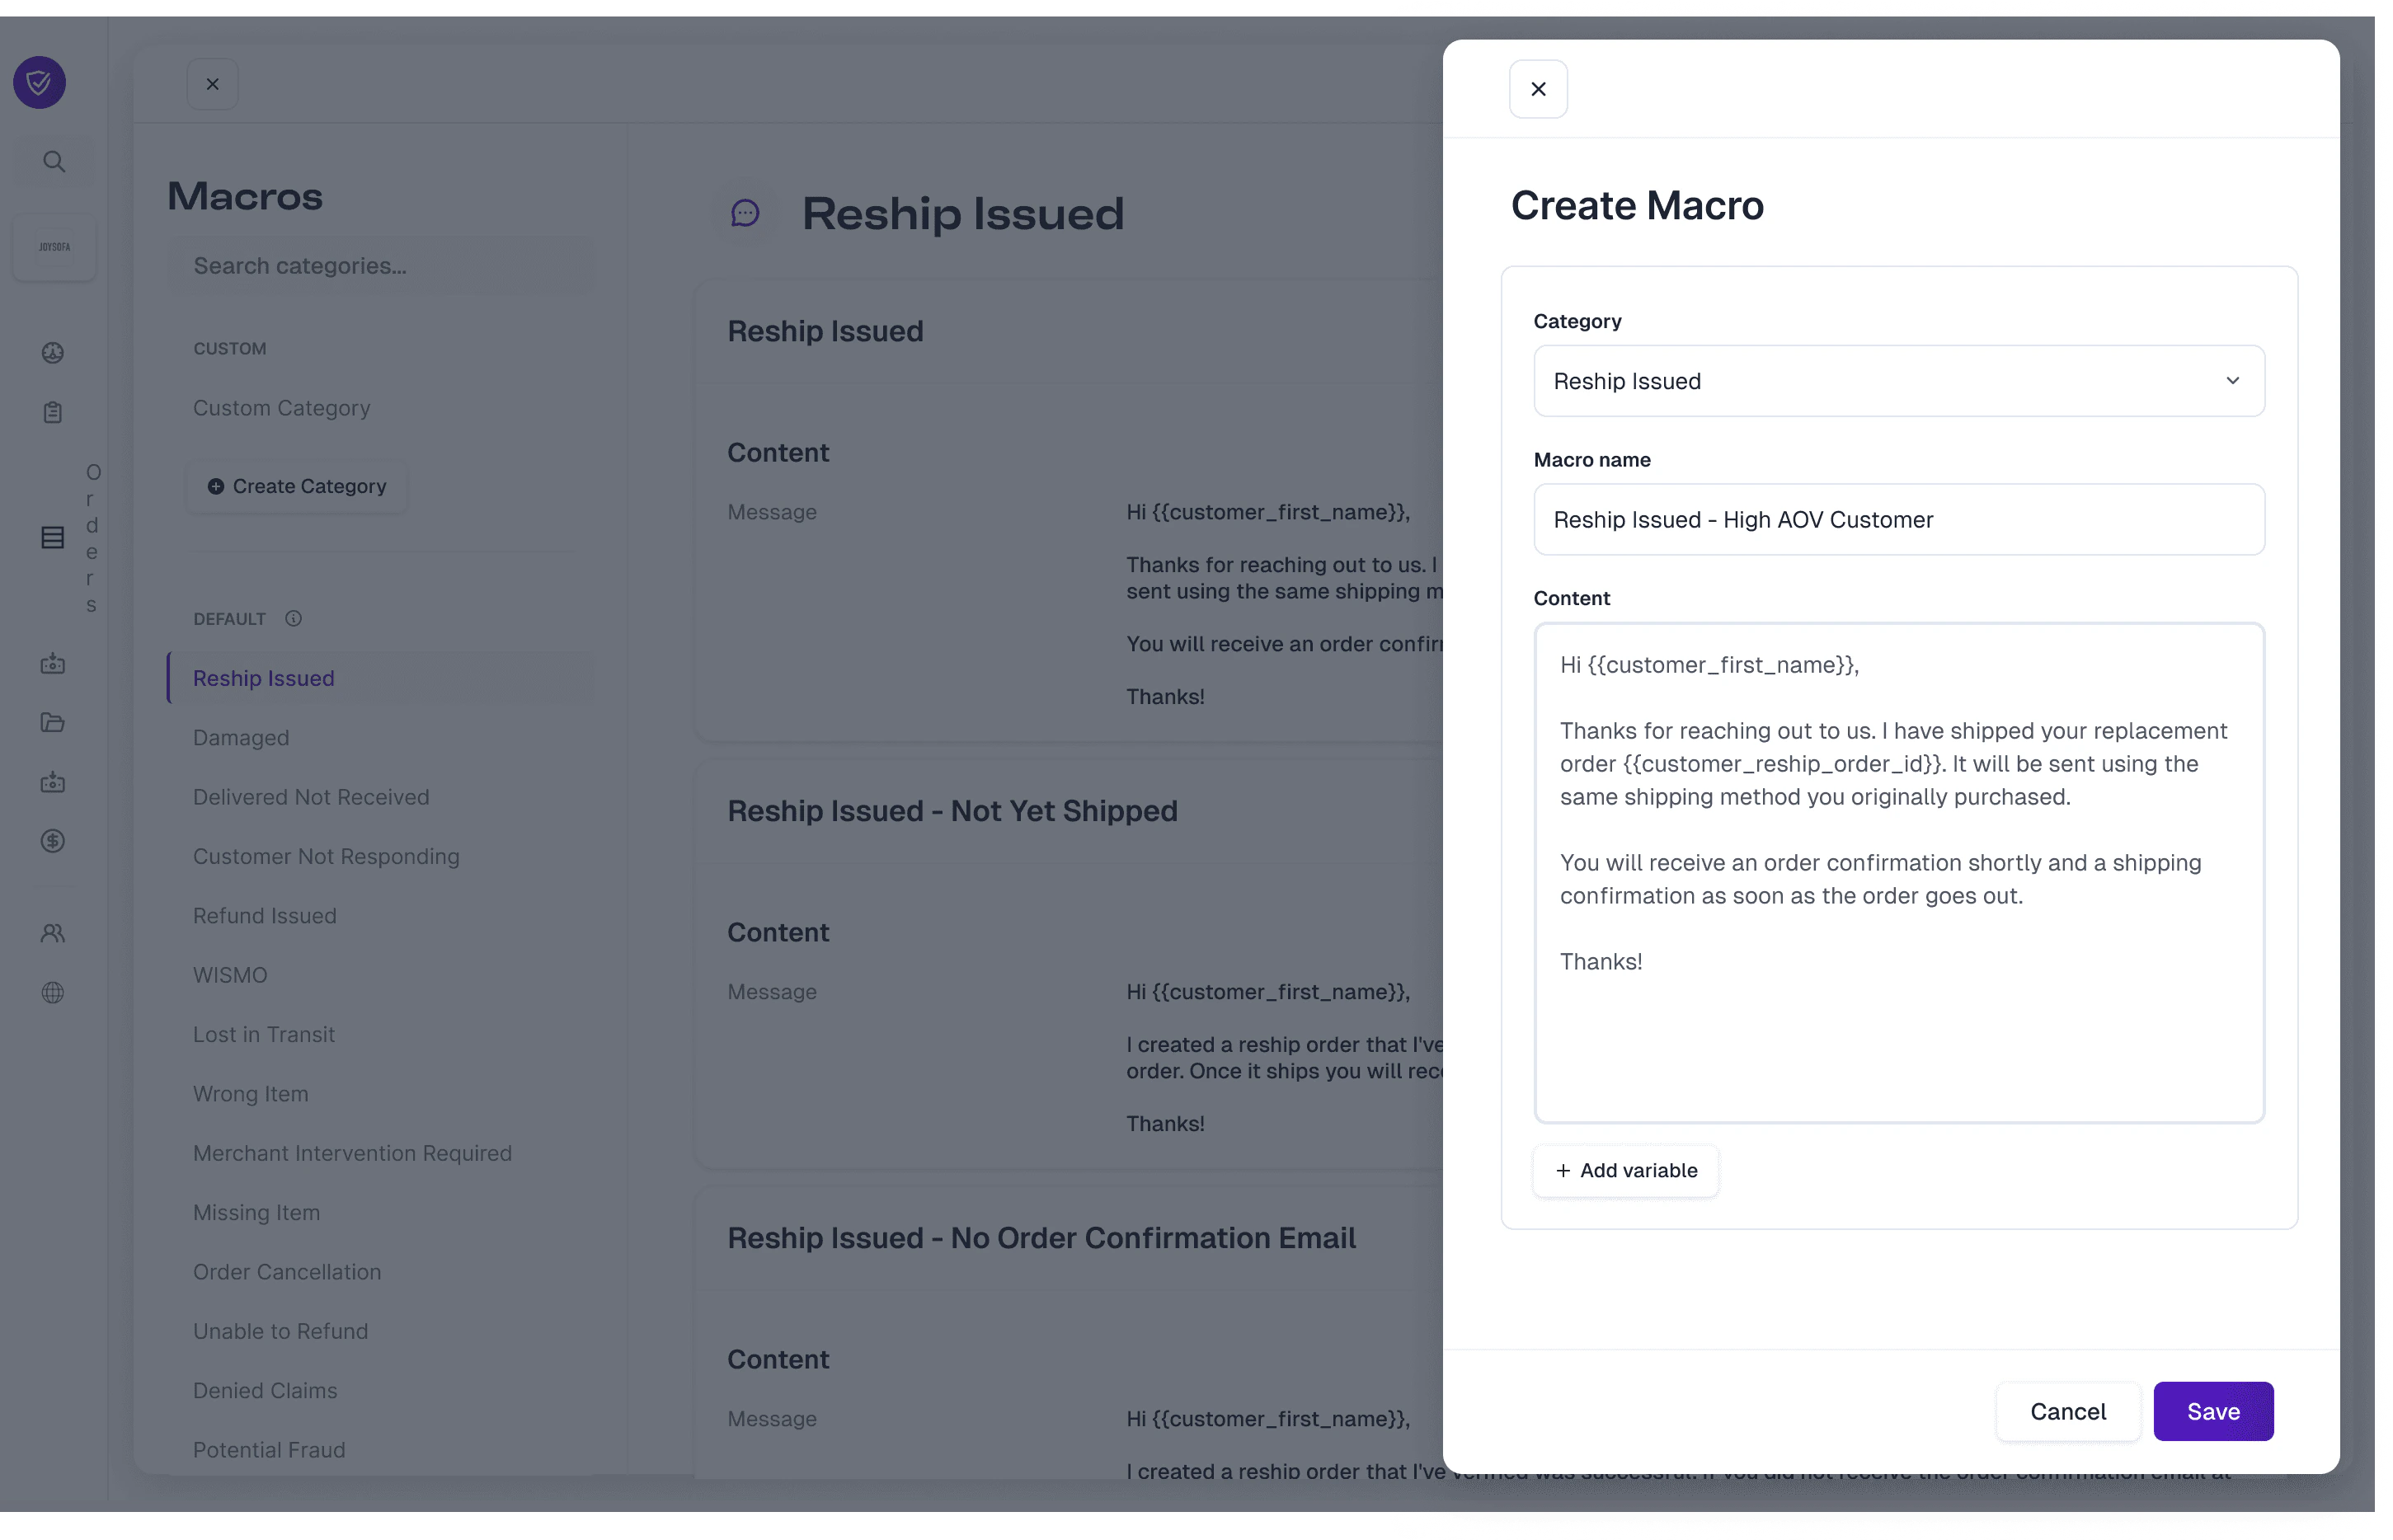 Once the macro is saved, it will move from the **Default** section to the **Custom** section under the same default category name and will have an **Override** badge applied.
 ### Pinning
Pinning macros can be done on default macros within the default section, default macros that have been overridden and live in the custom section, or custom macros in the custom section.
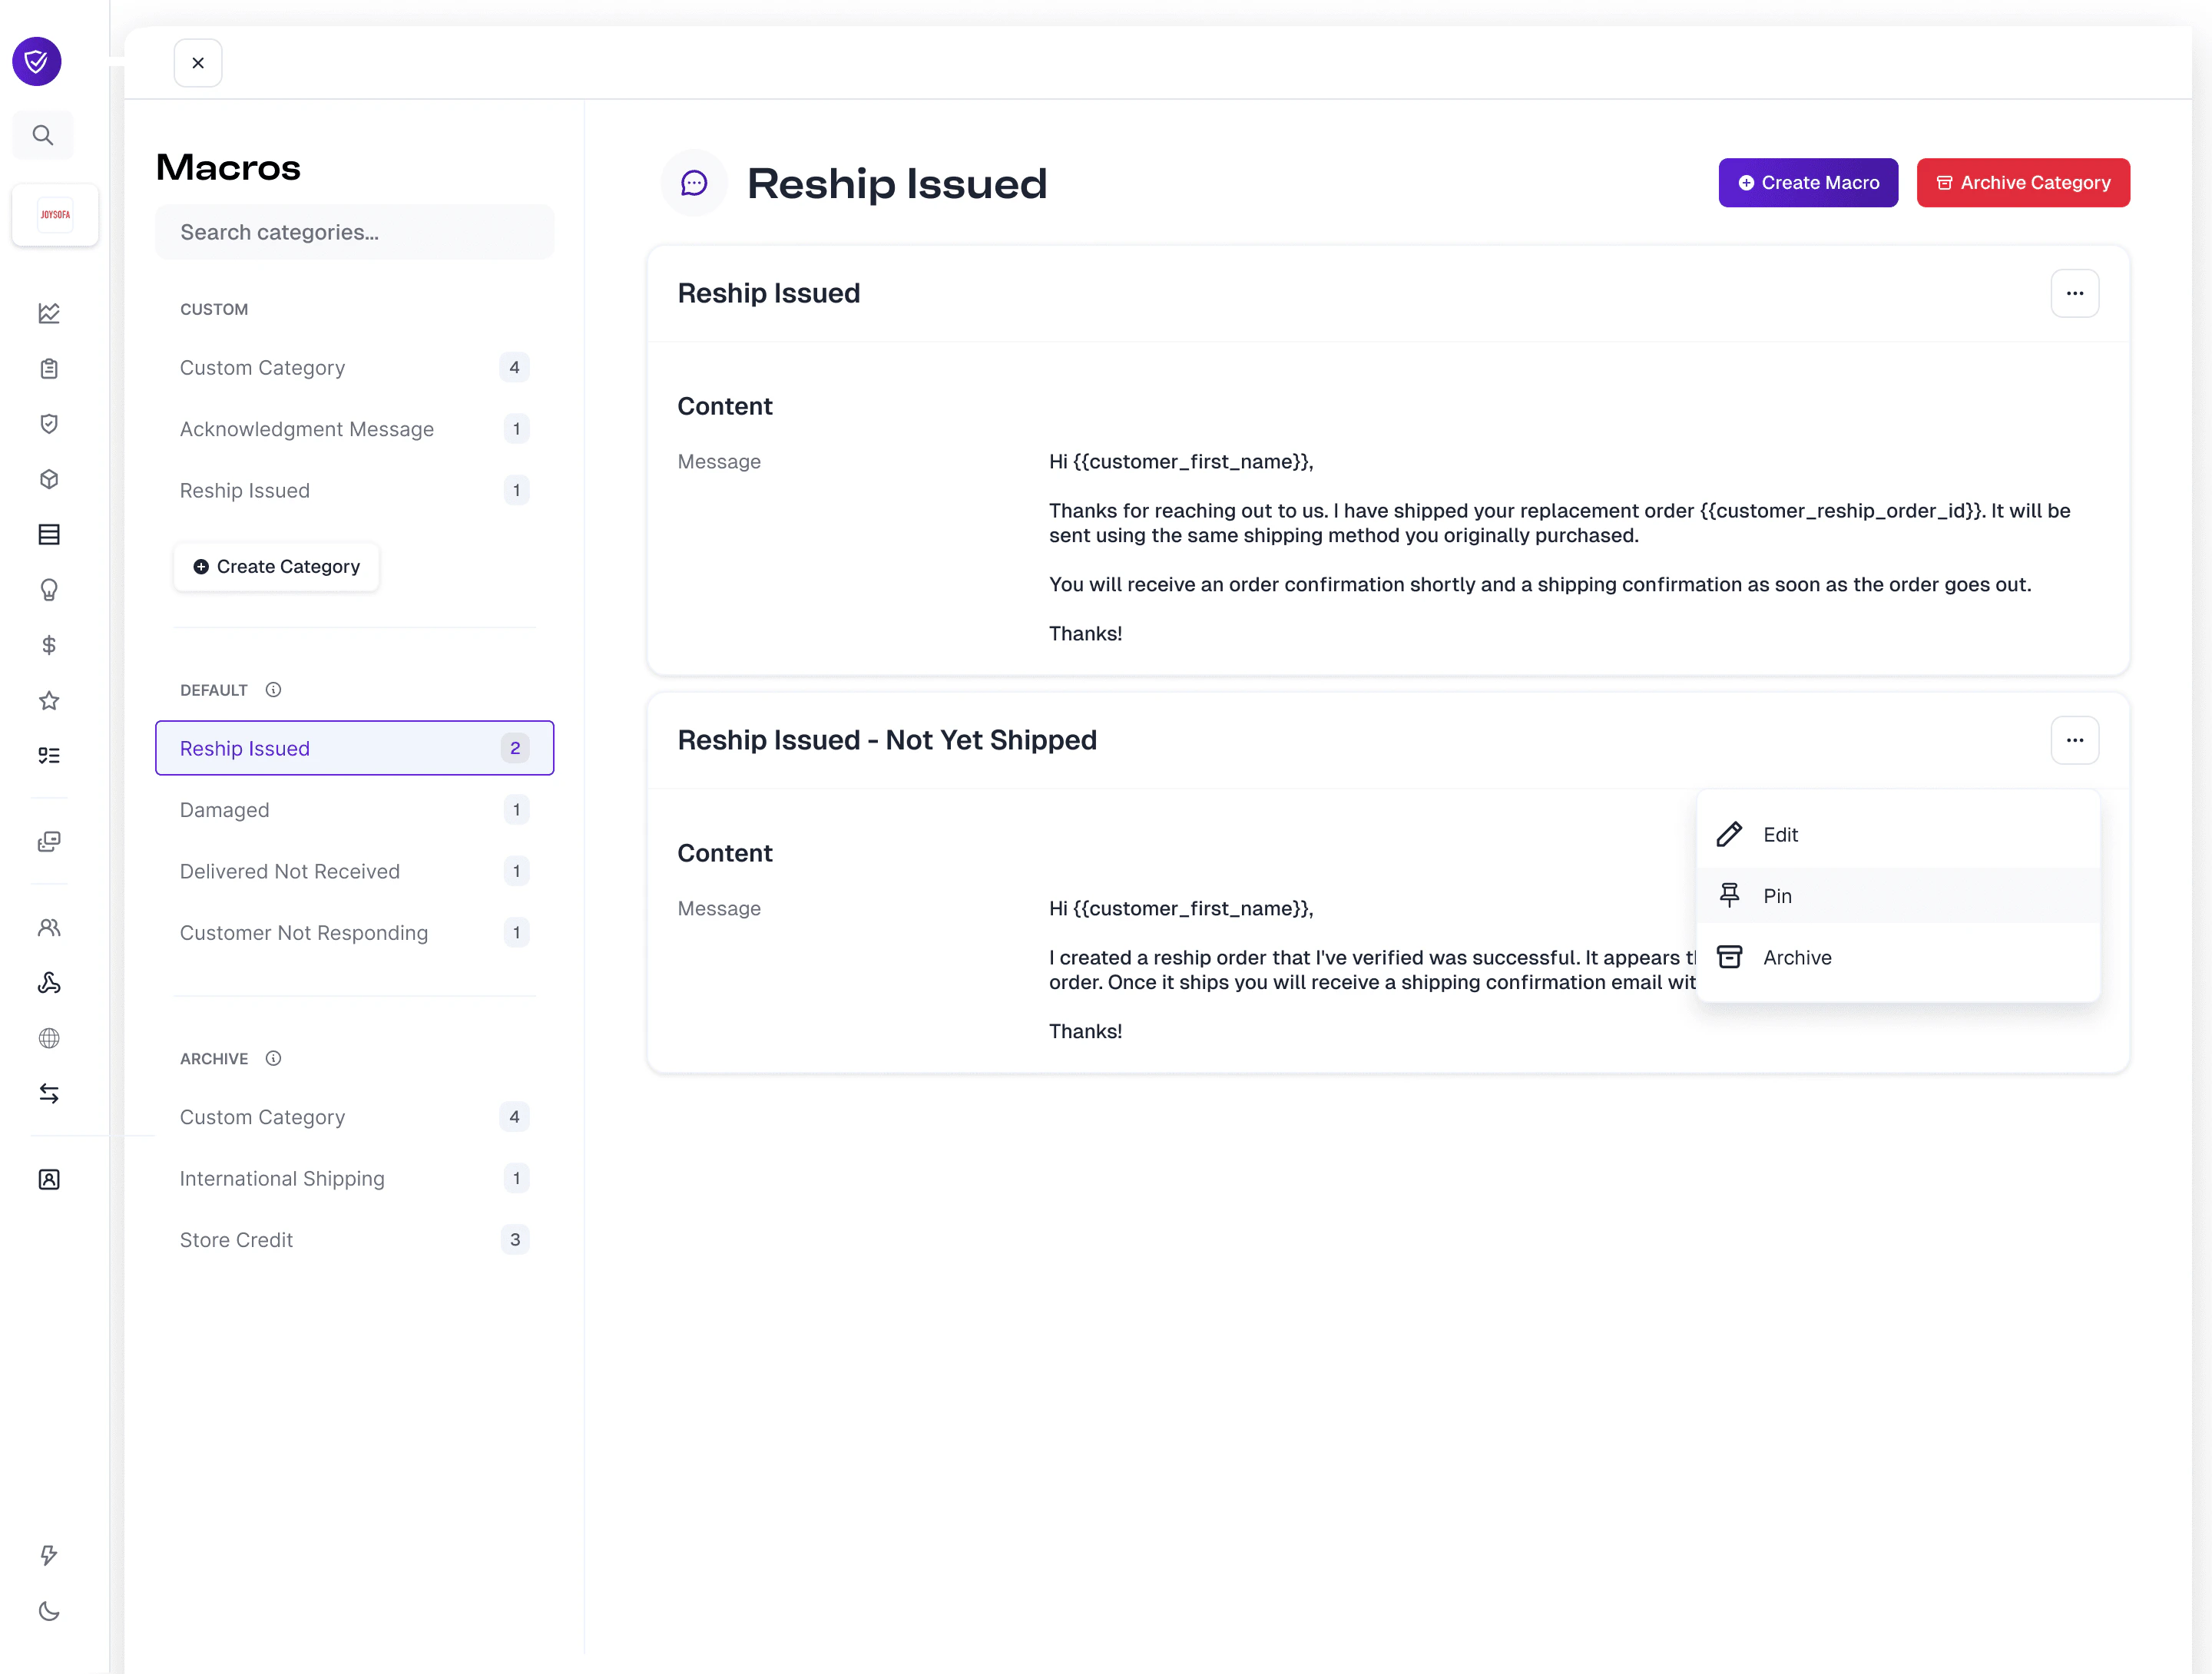
On any macro, simply select the ellipses and click **Pin**.
### Pinning
Pinning macros can be done on default macros within the default section, default macros that have been overridden and live in the custom section, or custom macros in the custom section.
On any macro, simply select the ellipses and click **Pin**.
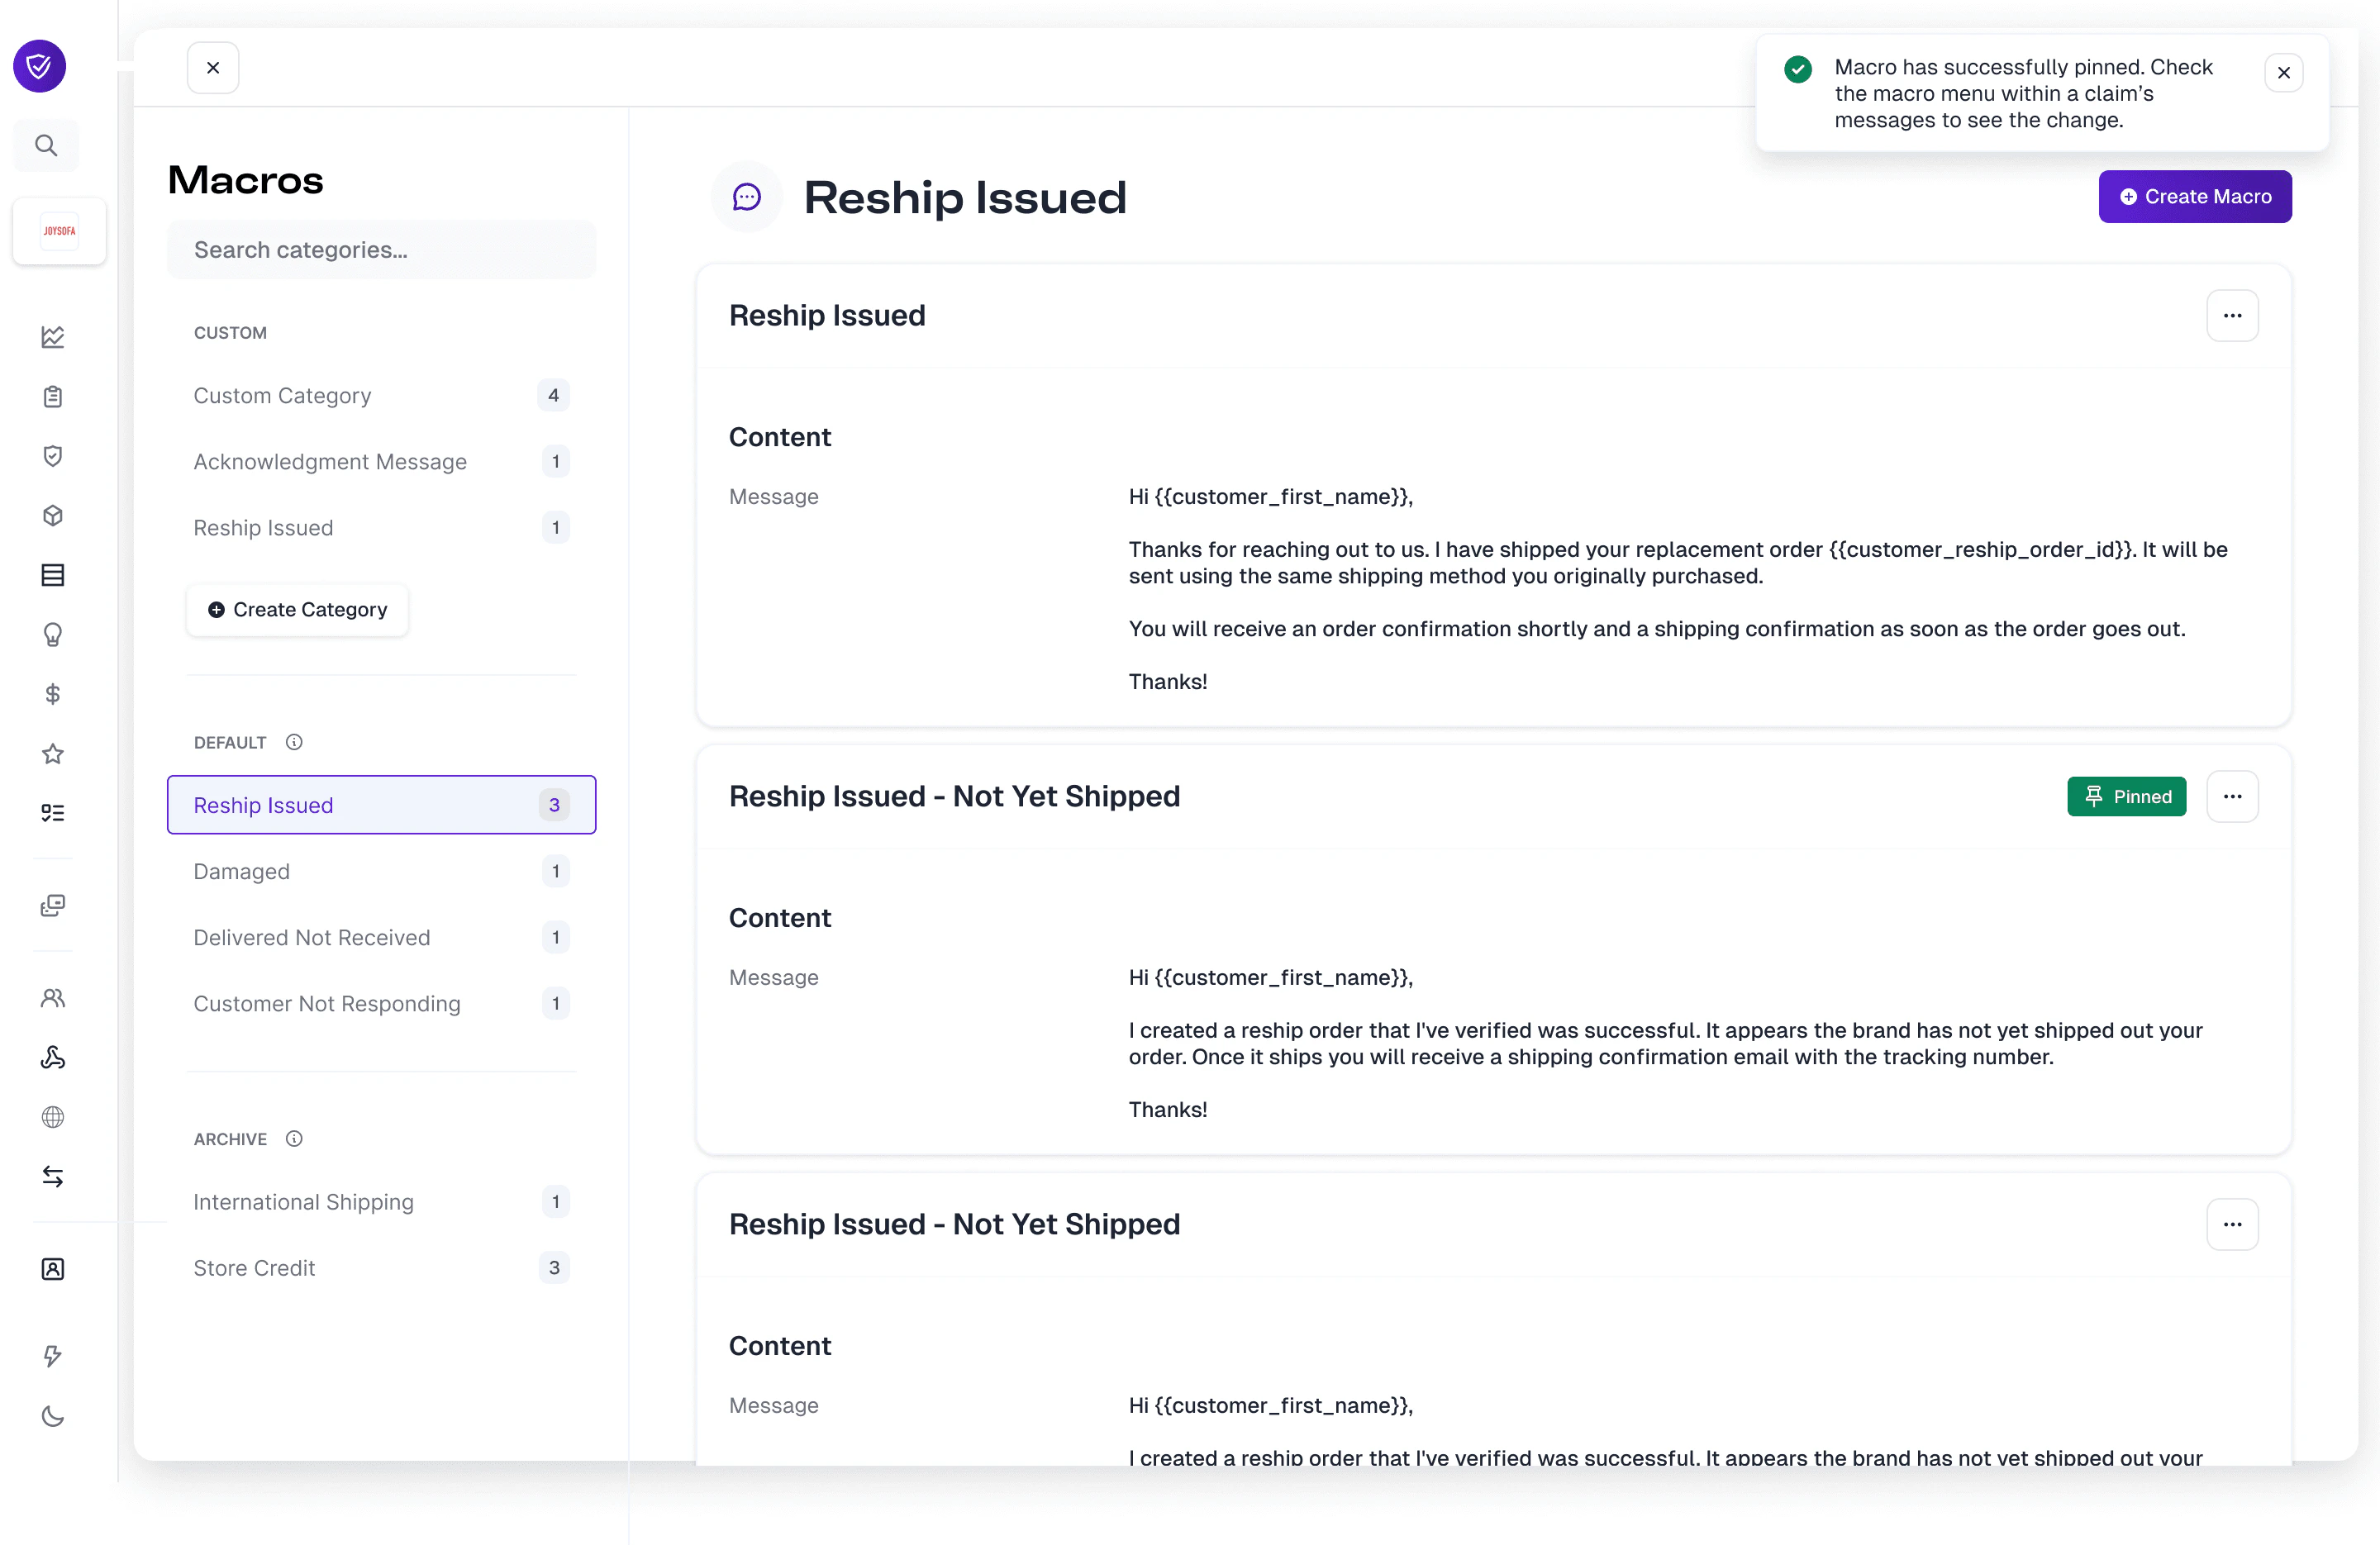
 Once pinned, you will see a success banner at the top of the screen along with a **Pinned** badge on the macro card.
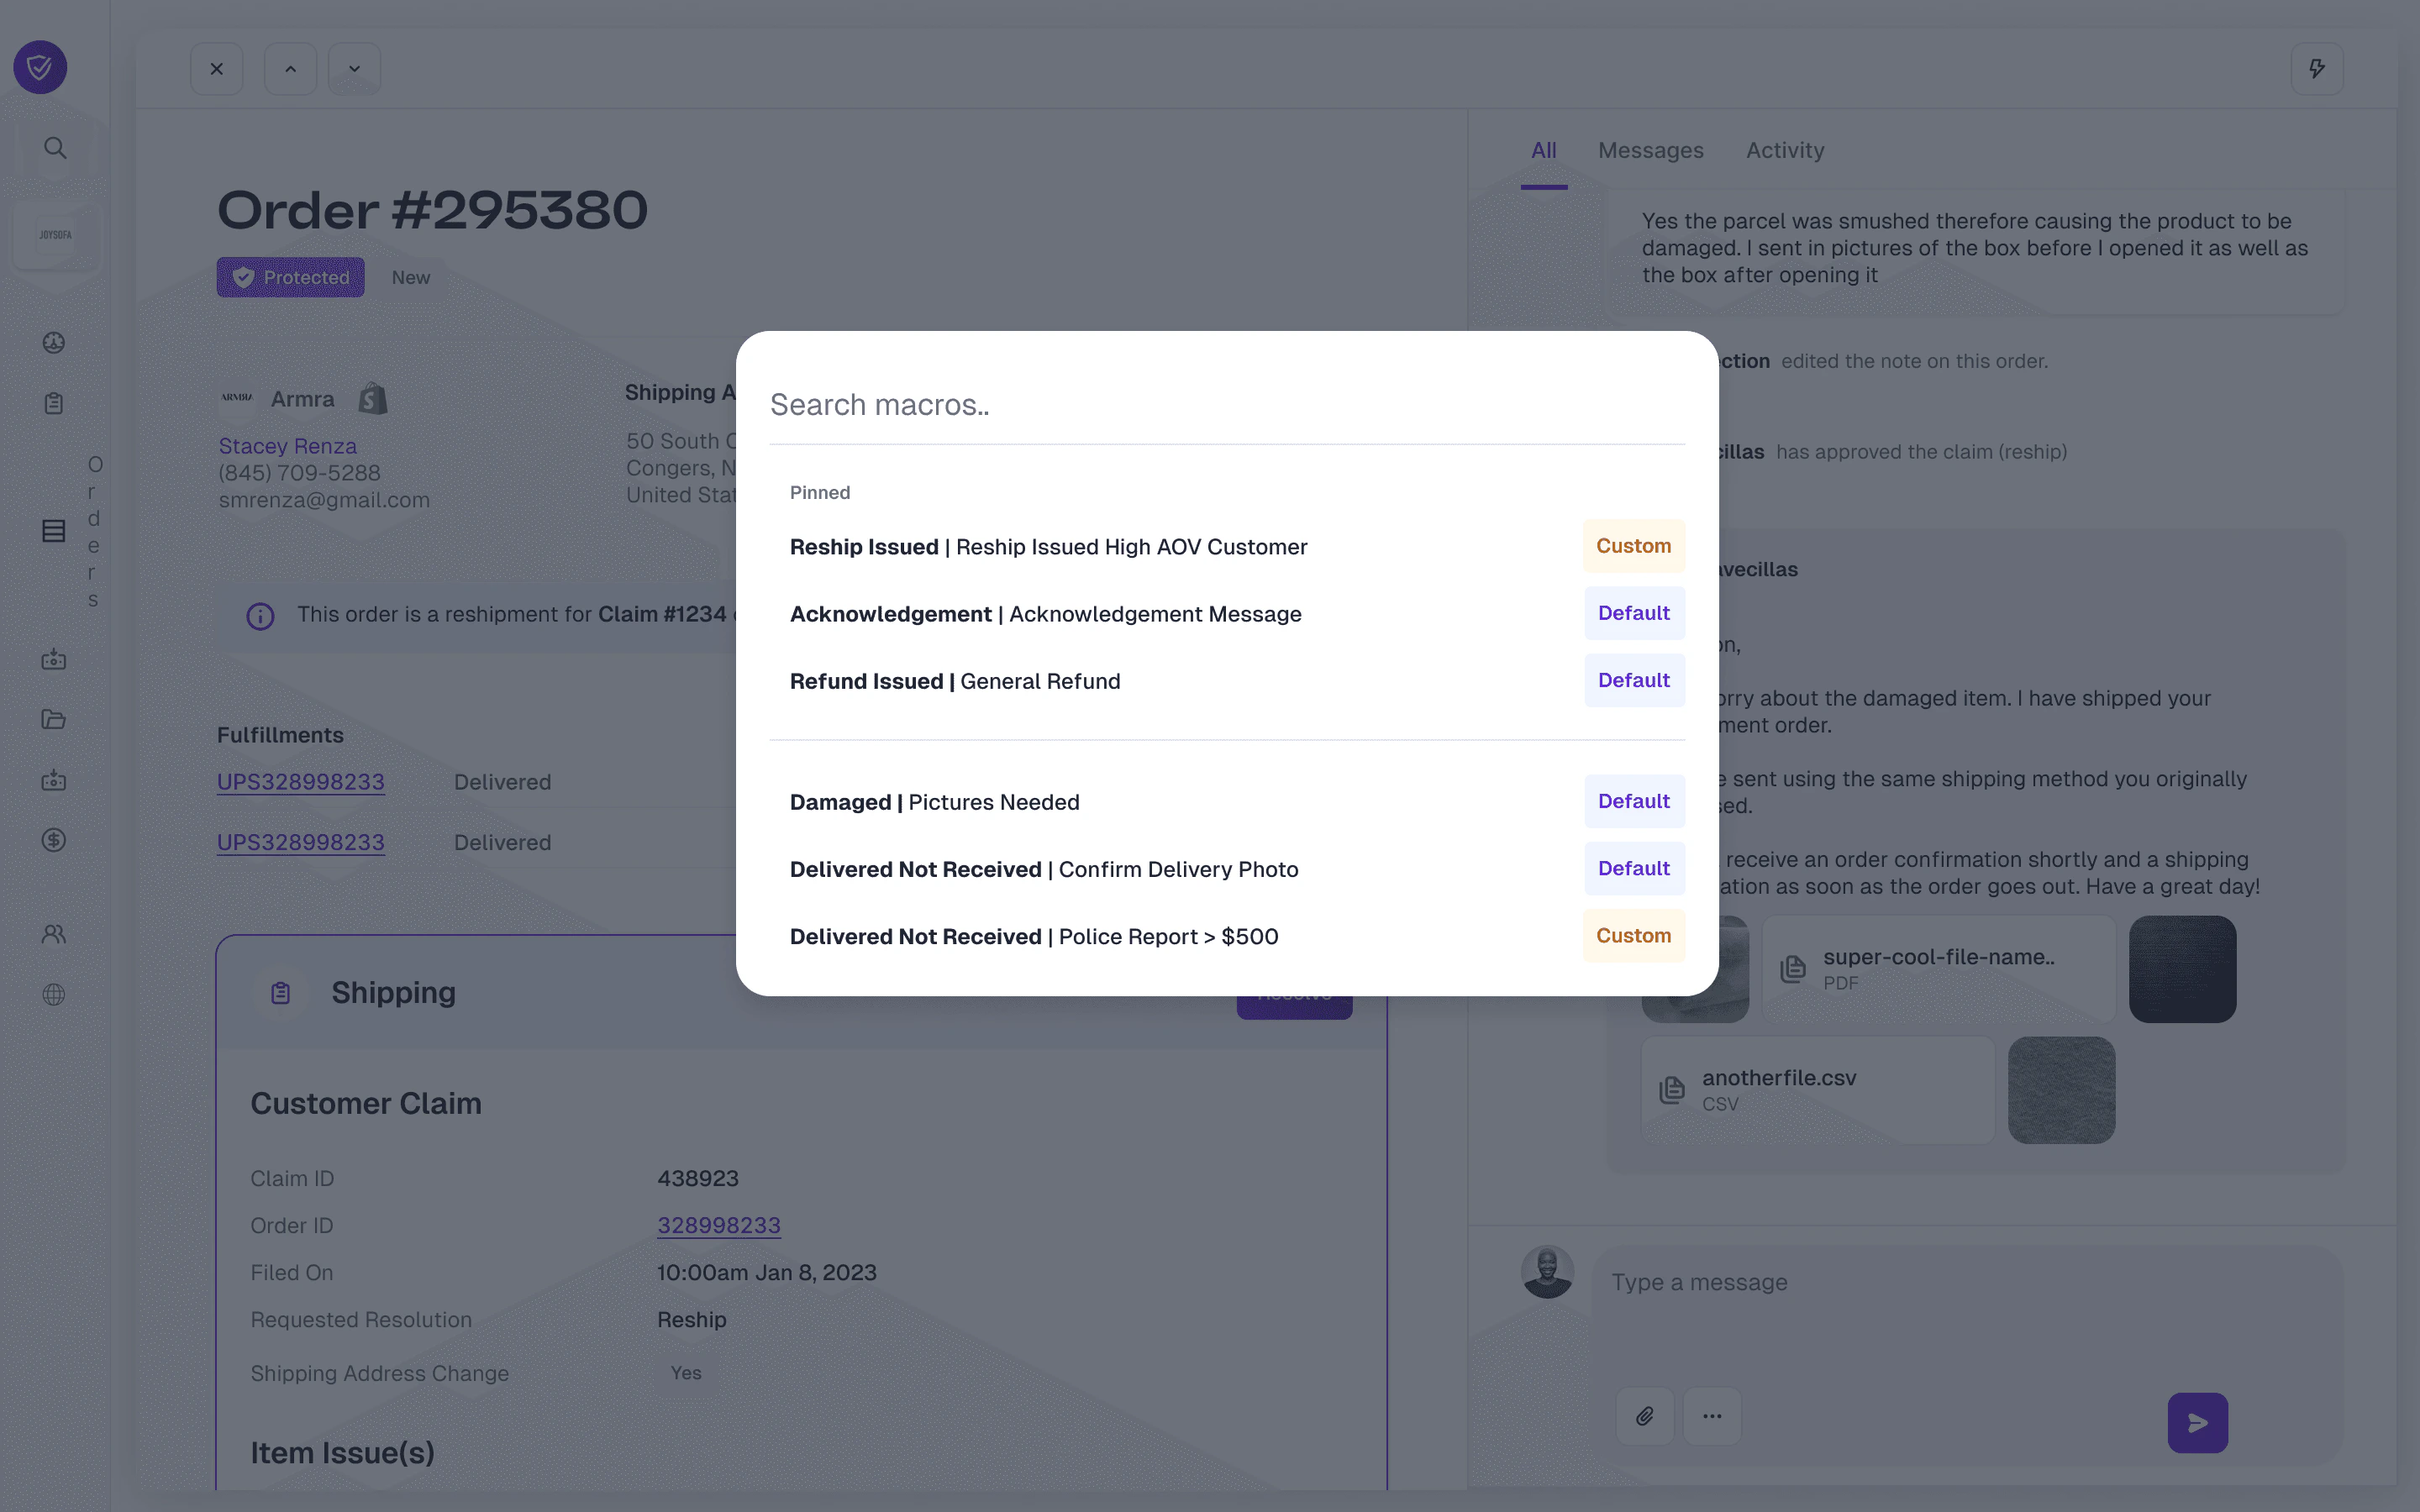
 Once pinned, the macros will appear at the top of the search macro modal within a claim as a quick reference point when responding to customers.
 ### Archiving
When either default macros or custom macros are no longer applicable for your customer communication, you can choose to archive individual macros or entire categories.
* **Archive an individual macro:** Navigate to the Default or Custom section and select the ellipses on a macro card and select **Archive**.
* **Archive an entire category:** Select the **Archive Category** button within the macro section header.
### Archiving
When either default macros or custom macros are no longer applicable for your customer communication, you can choose to archive individual macros or entire categories.
* **Archive an individual macro:** Navigate to the Default or Custom section and select the ellipses on a macro card and select **Archive**.
* **Archive an entire category:** Select the **Archive Category** button within the macro section header.
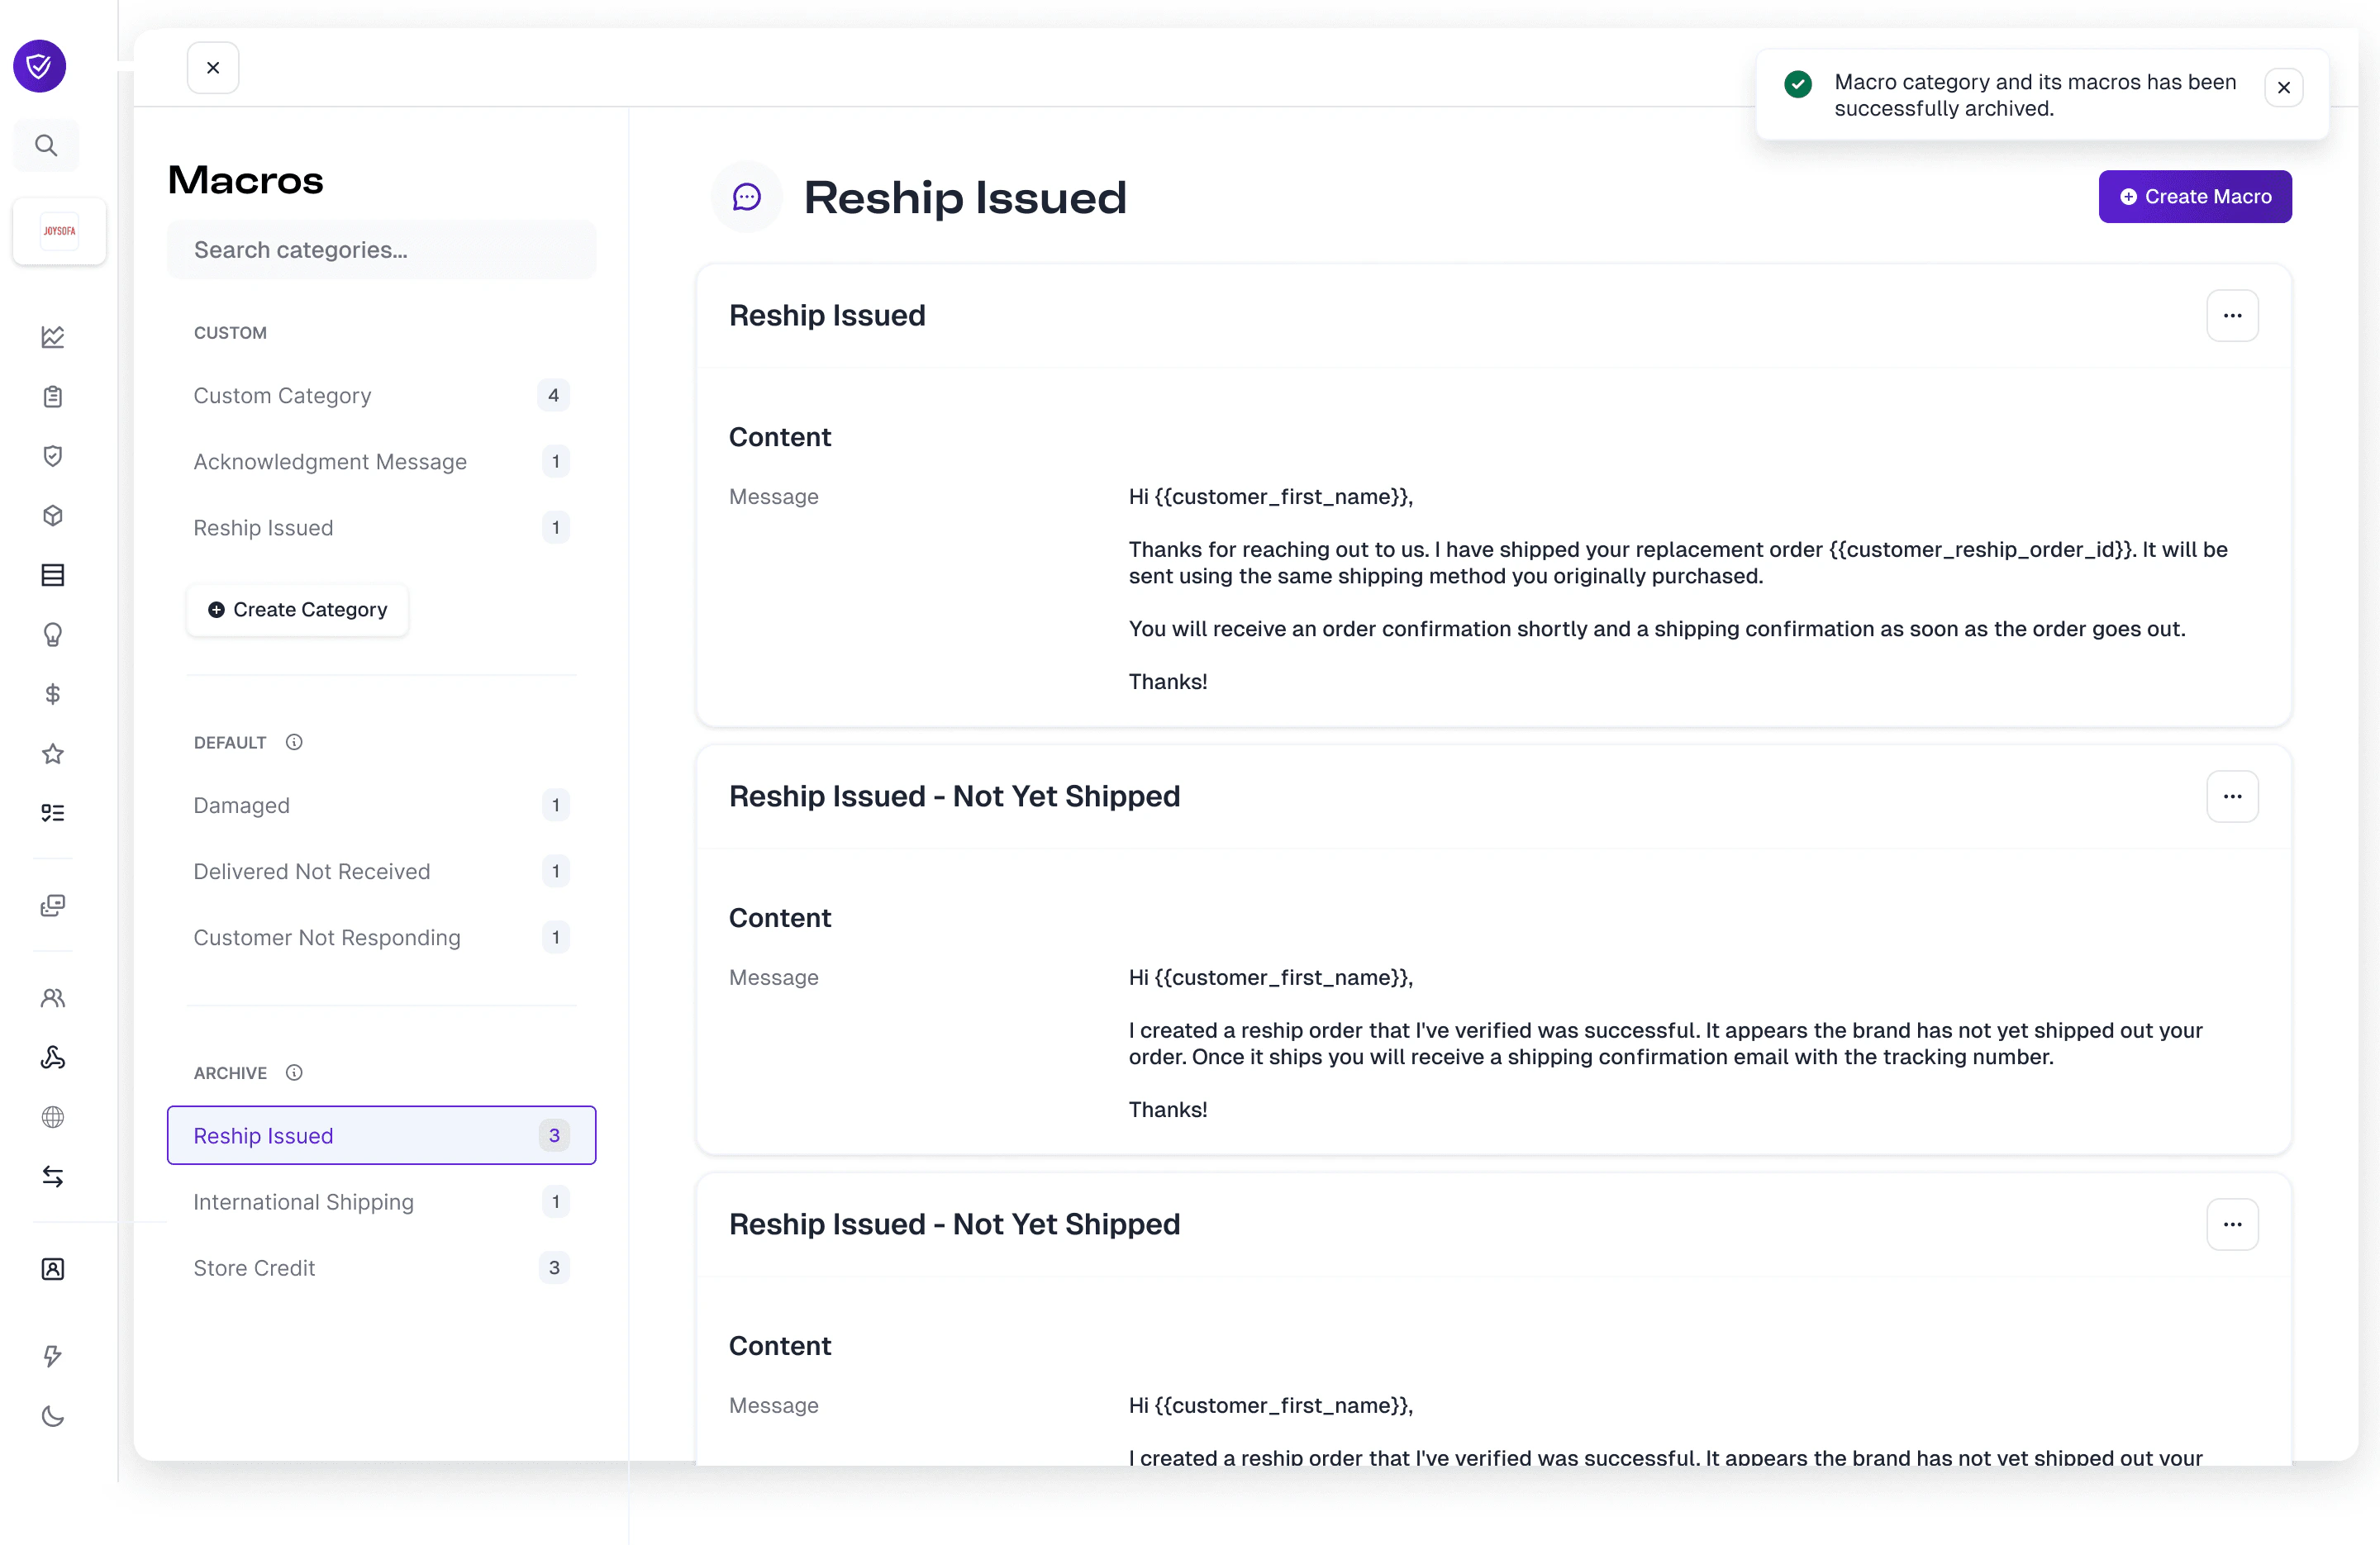
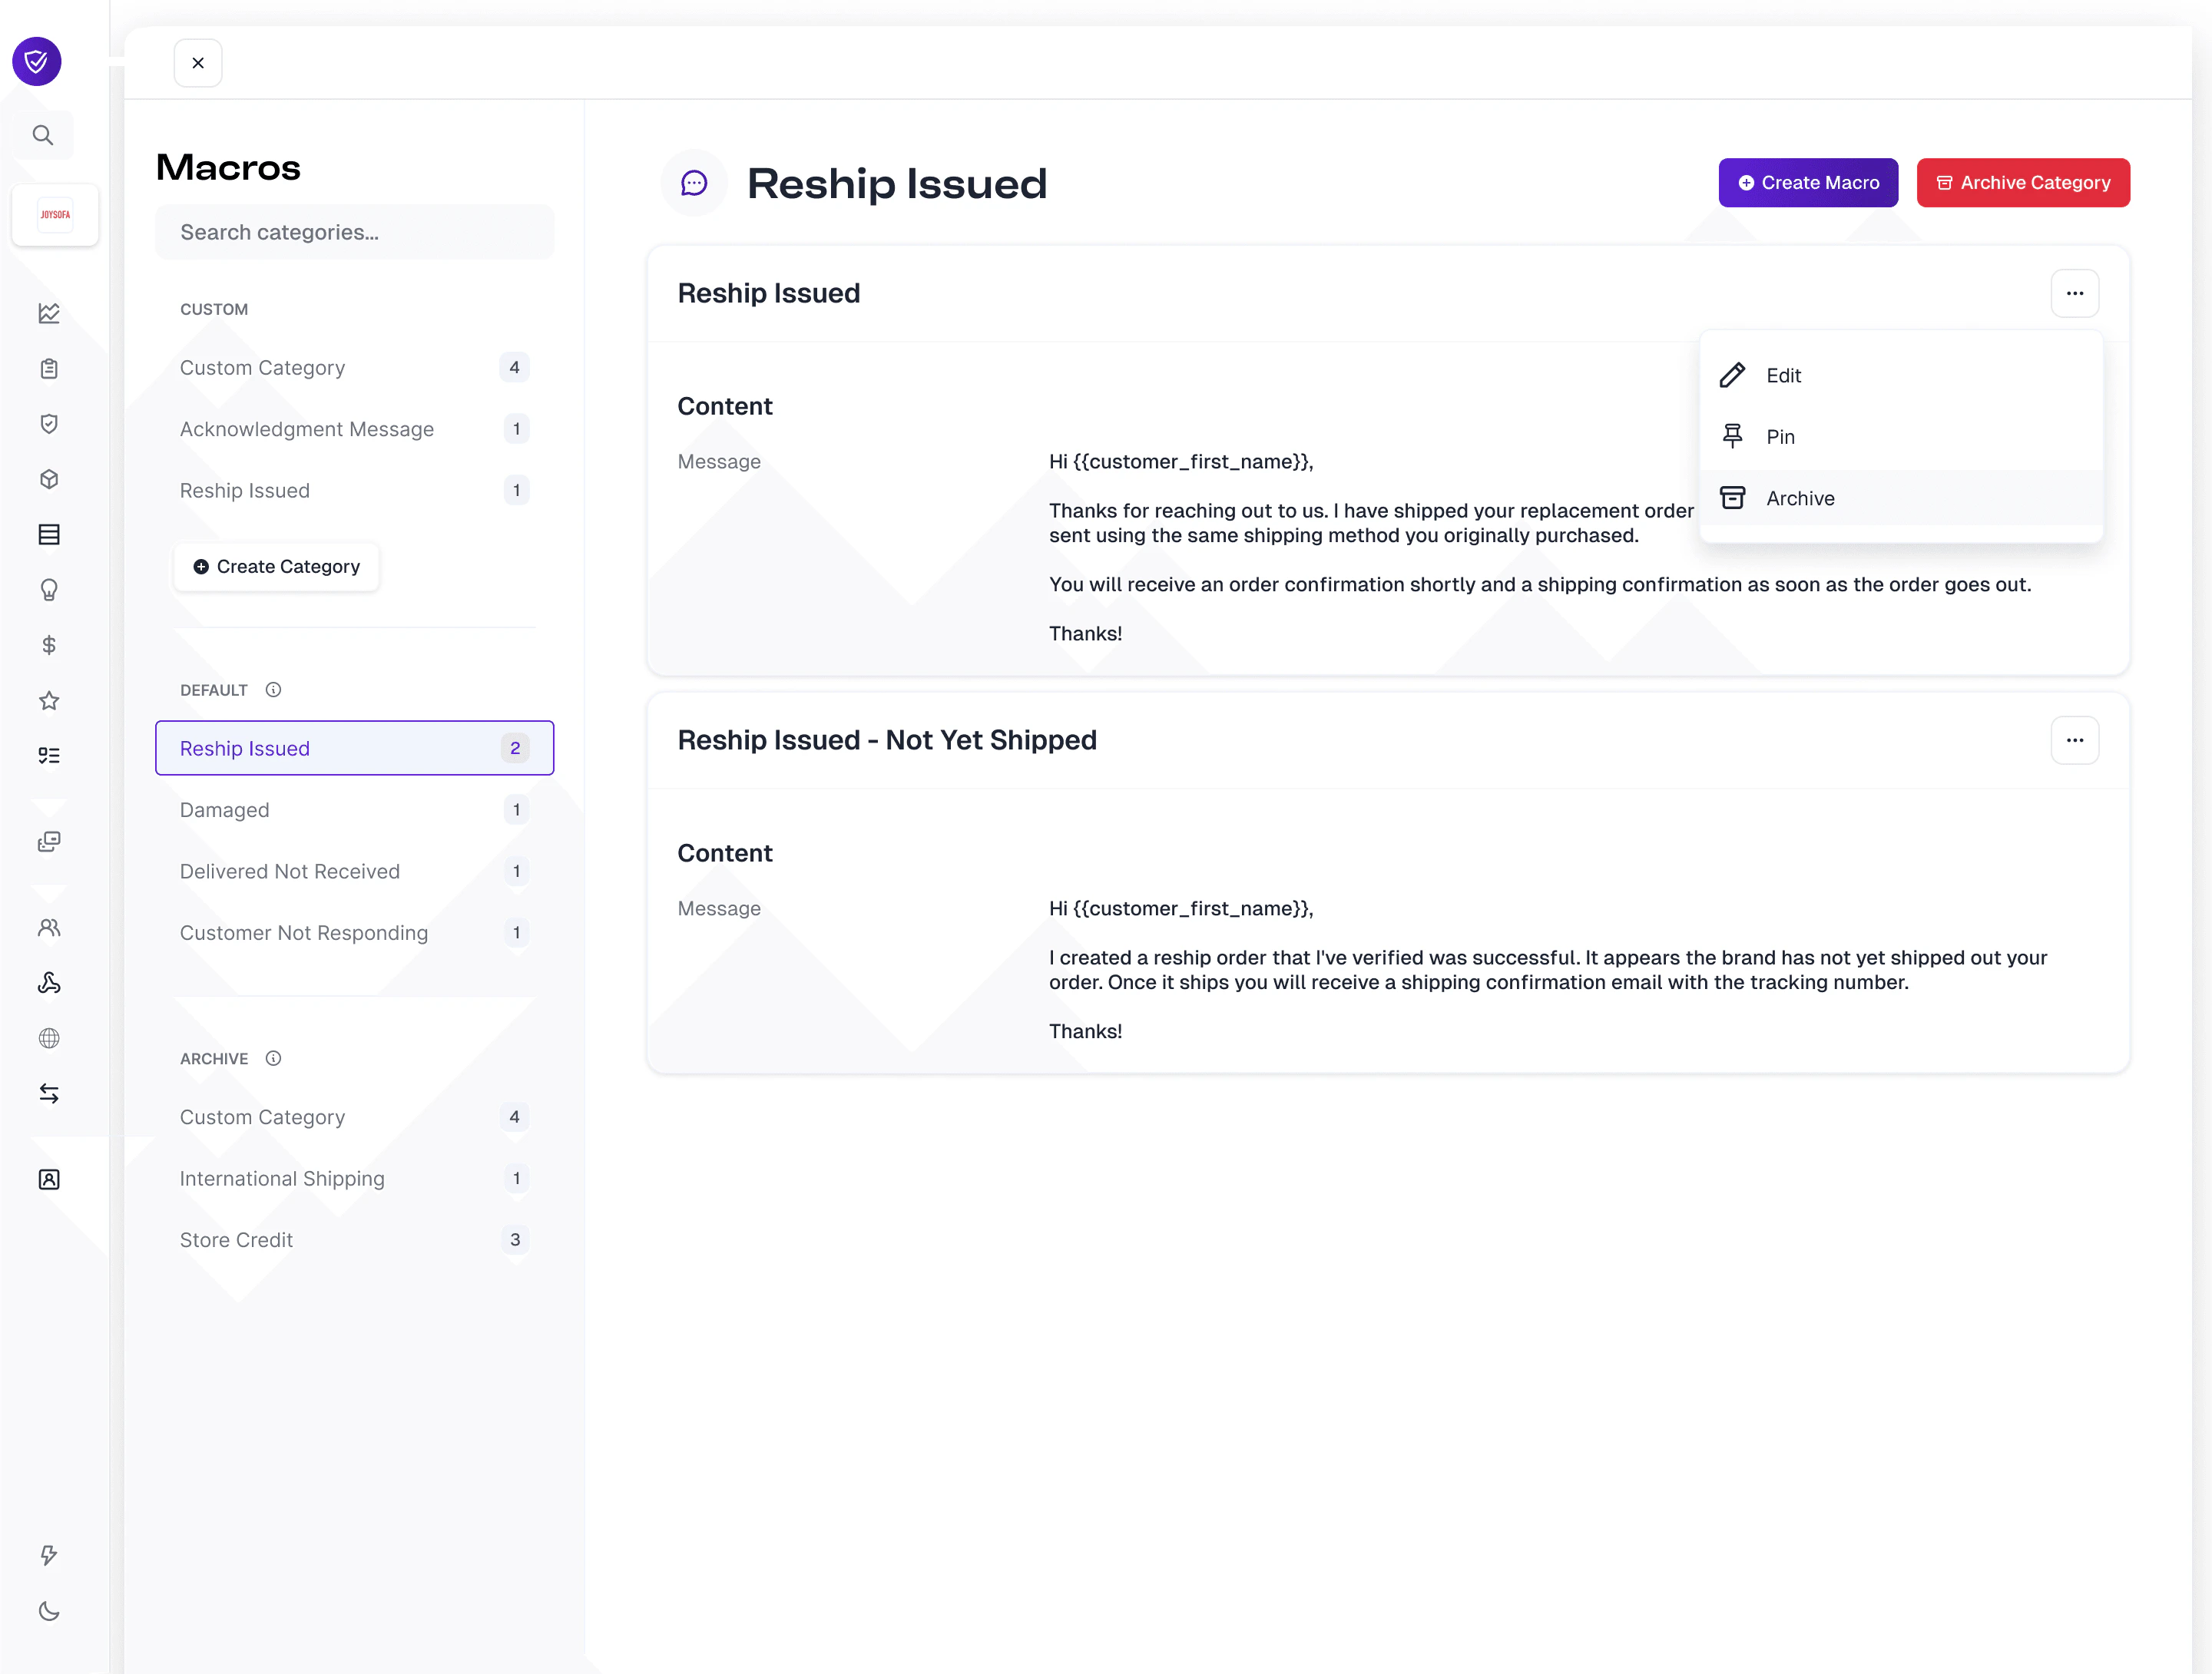 Once archived, the macro or macro category will appear in the **Archive** section along with its associated category. The count of the macros within that category will increase depending on whether you archived a single macro (increase by 1) or an entire macro category (increase by 1+).
 ## Creating Custom Macro Categories and Macros
If you want to create new macro categories and macros that are outside the default category templates, you can do so by selecting the **Create Category** button and the edit modal will appear.
## Creating Custom Macro Categories and Macros
If you want to create new macro categories and macros that are outside the default category templates, you can do so by selecting the **Create Category** button and the edit modal will appear.
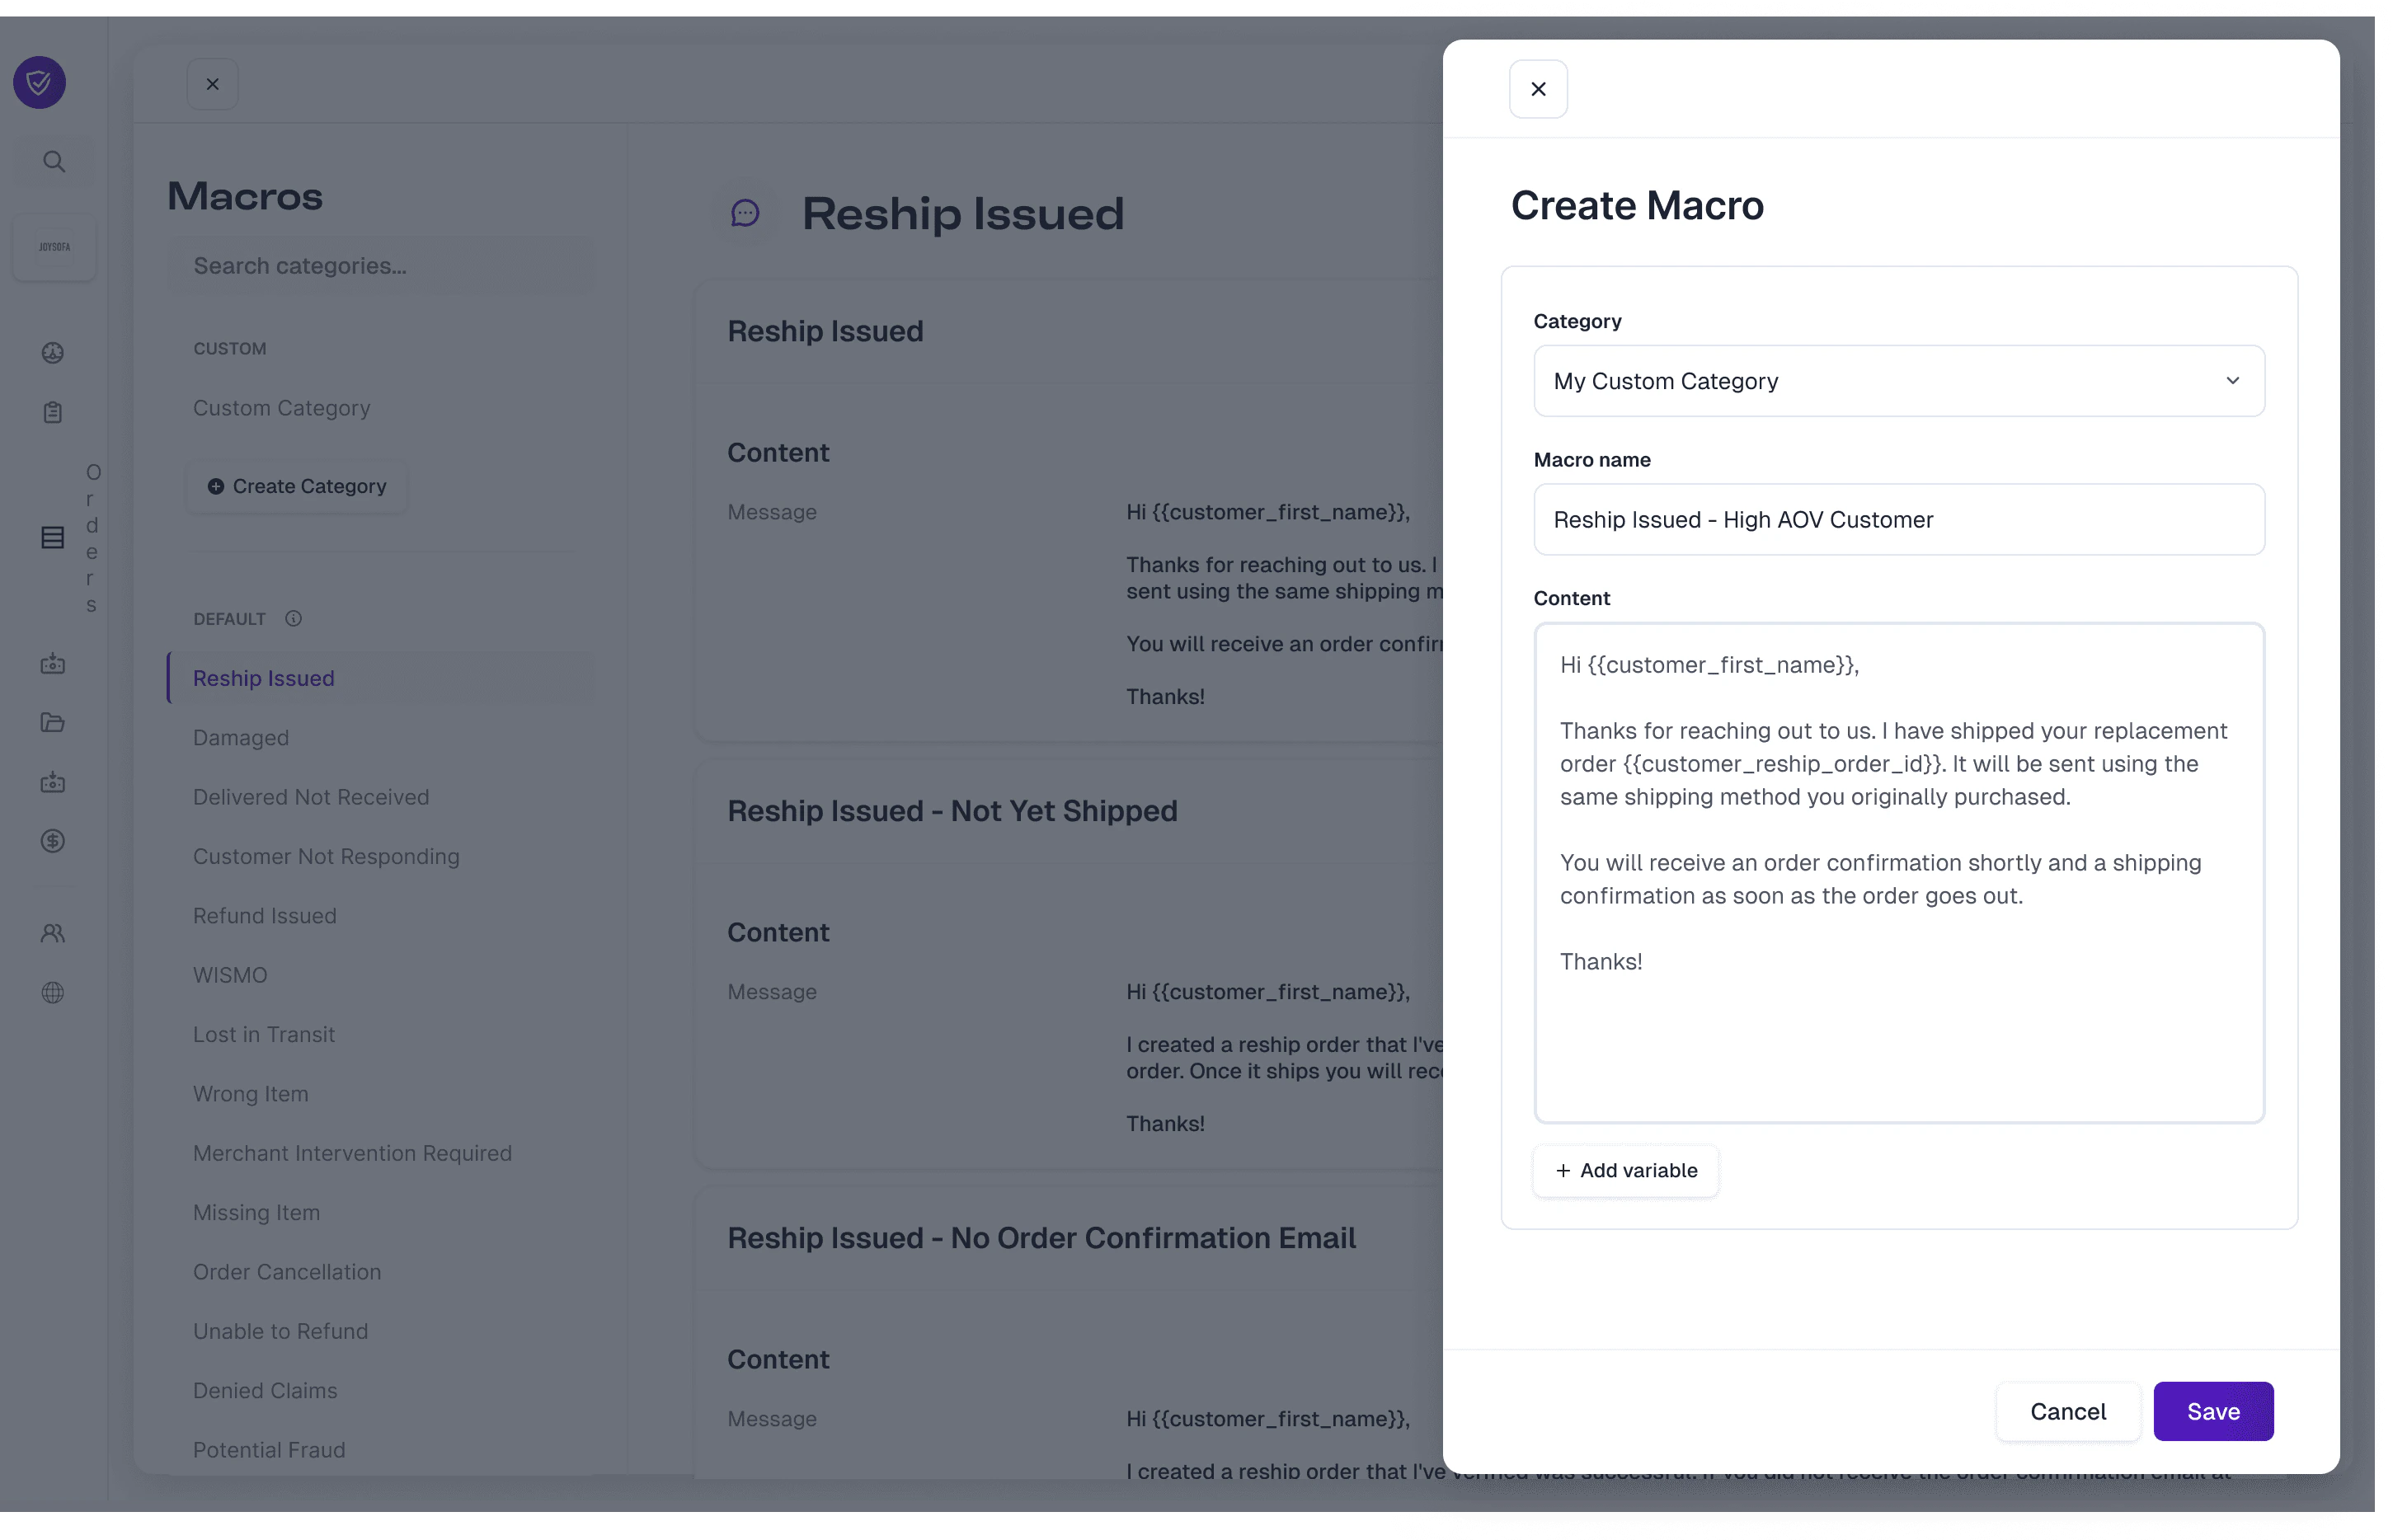 Once created, your new custom category will appear in the **Custom** section along with a count of 1 within that category.